Amazon

Showing posts with label yum. Show all posts

Wednesday, June 13, 2018

Rustic Pizza Dough


RUSTIC PIZZA DOUGH

One of my all time favorite things to eat is and always will be PIZZA! 
Rather from scratch at home or dropping in at one of the popular pizza joints that are popping up everywhere - 
it is one of the ultimate satisfying 'fast food' 'finger food' options I just can't say no to.

When I was younger I enjoyed thick crust pizza 'pie'. Something you sank your teeth into but could still hold with your hands; (occasionally requiring a fork.) However, taste-buds, husbands and kids bring about expansion... In this instance, expanding my tastes and ultimately my hips therefore thin crust became a fave. ;)

Specifically we enjoy a crust so thin it has rips and tears from being stretched! It has burnt edges with bubbles filled with air that 

crunch noisily when bitten into.
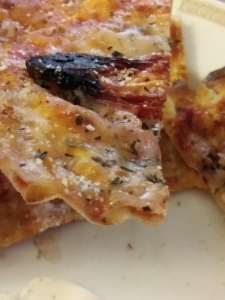
Mmmm, do you see that? 
That crunch? 
Paper thin and so so good. 
Even though I know we eat initially with our eyes - let me assure you the taste is even better!

Previously I found a nice enough "10 minute" dough recipe; 
Fast & easy but it had a 'chew' versus a 'crunchy bite'. So where do I go for inspiration?
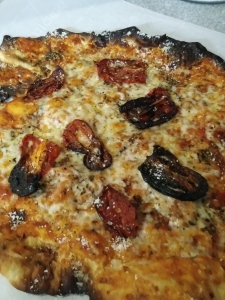
 

-to pinterest ♥ and the net-

Where I found the perfect Rustic Pizza Dough that if you have time to wait on its rise, you will absolutely fall in love with the authenticity!

Let this transport you to the outside patios of Italy. I've made it as far as my porch.

Perhaps you'll make it to Italy for me! LOL
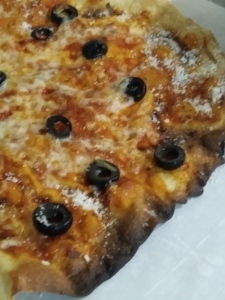

Typically, when we have pizza night at our house, it's usually hand in hand with having a few grands over.
 I recall pizza dough being the first thing we attempted to make with our first grand little. 
Something 'hands on' allowing lil fingers to play, all while being in the midst of what was happening in the typical hub of the home; AKA the kitchen!

I personally do Mise en place (French pronunciation: ​[mi zɑ̃ ˈplas]) which is a French culinary phrase meaning "putting in place" or 

"everything in its place."
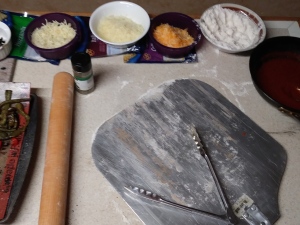
 
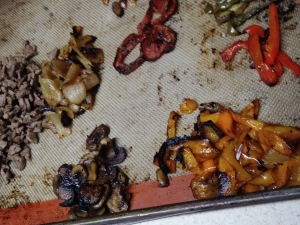
I gather everything up that I will need before starting, including the various topping
s that will be used. 

I pre-cook most toppings too since the time in the oven isn't really long enough to accommodate. 

Of course, this is entirely personal preference - so feel free to rock out your own.

 That's exactly what I do!
 

Crust Ingredients:
  • 5 cups AP flour (approx) + some for dusting
  • 1 1/2 tsp active dry yeast
  • 1 1/2 tsp kosher salt (original calls for sea salt)
  • 2 1/4 cups COLD water (yup, COLD)
  • 1 tbsp EVOO
While gathering the ingredients, that is a good time to start pre-heating your oven to a min of 500 degrees. 
The original recipe and my own experience concur a pizza stone makes all the difference too. 

Be sure to have yours in the oven during the preheat process.

I used a kitchen aide mixer but not to fret, this can come together by hand nicely too. 
So use what you have - it's really hard to fudge this one guys! :) 
Incorporate all dry ingredients
 

together then add COLD water. TaDah!

No proofing necessary! (That's a win win in my book!)

Mix, adding additional flour as needed. The dough should be slightly sticky 
but not enough to remain on the side walls of your mixer. 
It'll take between 8-12 minutes to combine. 

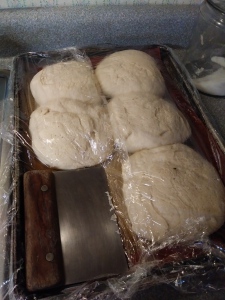
When finished, remove the dough and cut into 6 rounds.
Don't worry about extras -- this recipe freezes exceptionally well!

Place the rounds on a cookie sheet, drizzle with the EVOO, cover with plastic wrap or a damp cloth and walk away. 
Not really 'away' but let it rest for an hour or so in a nice warm spot. 
The yeast will activate surprisingly well, doubling the size of each round. This time allowance gives ample opportunity to pre-cook your toppings if your into that kind of thing.

Once the dough has risen, take out one of the rounds to work while keeping the others covered. 
This will ensure they do not dry out. 
Use a slight dusting of flour on your counter to roll out your dough the size of your pizza peel. 
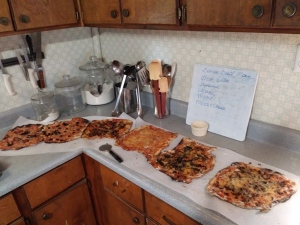

and dust your peel so the dough will slip off onto the stone without sticking.

Pre-bake each crust at high temp for 1-2 minutes to ensure a crisp crunchy texture before adding any toppings. 
It is seriously worth the minimal effort! 

Remove the pre-baked crust from the oven. Keep in mind Less is More if you desire crisp & crunchy! 
Use your favorite sauce, prepared toppings & choice of cheese then back into the oven between 5-7 minutes.

Bam! Dinner Is Served!

What is your favorite pizza? Do you prefer thin crust or thick crust? 
Did you know pizza is a fabulous way to use left over meats, veggies and the last tidbit of various cheeses? 
Is there a special recipe you do with your littles or grands? 

Let me know how it goes in your kitchen!


Shout out to Ciao Florentina for the original recipe posted in 2011 at https://ciaoflorentina.com/about-florentina/ who shares her journal of simple living, filled with joy, laughter and sinfully delicious recipes!


Til Next Time ~
Domesticate Rebellion

THRIVING ~ Have you witnessed the testimonies? It’s not about weight loss; it IS about feeling better from the inside out! If interested I would love to help you! Knowledge is Power! Sign-up for a FREE account & information at https://domesticated.le-vel.com
 
  • DISCLAIMER: This post may contain affiliate links meaning if you click & buy, I may be compensated. So, Thank you!

Friday, March 9, 2018

Fun Sized Chocolate Chip Cookie


FUN SIZED CHOCOLATE CHIP COOKIE


Single Serve * Fun Sized * and the best part * it's just for One

Yes, you read ^that^ correctly

This is a 'just for ME - single size - fun size -  in my personal mug size' - Chocolate Chip Cookie!

Off the charts simple & sinfully easy! ;)

Look at it. What do you think? Mouth watered just a bit, huh? I know. Mine too.

052 

I'm thinking this runs a super-duper close second to my single size mug brownie. 
You agree don't you? MmmHmmm... definitely, most positively, chocolate chip cookie lovers 
everywhere will unite over this one! 

Perfect for those late nights when you have a chocolate craving hit & you absolutely have to have it NOW! 
You know the ones that drive you to frantically search out the cabinets 
for anything that will satisfy the craving closely peaking to the level of being 
an actual physical need.  

You understand where I am coming from, don't you? 

Just look how the chocolate shimmers & shines. Melted just enough to be velvety smooth & lusciously creamy
 I'd say that qualifies as a need. 
WoWza! 
I need. 
LOL. Yup. I do. I do. No Shame! 

And hey hey hey ~ BONUS! 
THANKFULLY there is only one.
Making this single serve recipe a hipsaver :) 

You know what I'm talking about... 
having a PLATE of cookies around would be Kryptonite. 
Total killer to even the strongest will power.. 

(and I have discovered is the No. 1 culprit behind 3 a.m. sleep eating!) Hahaha (Not)

anywho... 

If you have a microwave then you can make yourself this chewy golden gooey chocolate chip cookie in 6 minutes or less. 
Easy to make. Easy to clean up. Zero evidence left behind 
AND Zero future temptation in your face. 
Perfect.

I made this in a six inch ramekin  giving it more of a cookie-like crisp texture when completely cooled.
 Just a thought as I prefer crisp-ness over cake-y. 

This post was inspired by Melissa at No. 2 Pencil who made this in a mug. Seriously, What's not to love here? 

You're gonna need:
  • 1 T butter
  • 1 T granulated sugar
  • 1 T packed brown sugar
  • pinch of salt
  • 3 drops vanilla
  • 1 egg yolk
  • slightly more than 1/8 c flour (but less than 1/4 c!)
  • 2 T semi-sweet chocolate chips
Directions:
  • Melt your butter - not boil; warm
  • Mix in both sugars, salt and vanilla
  • add egg yolk ~ stir
  • add flour and combine
  • fold in chocolate chips (the consistency will be like cookie dough) (um, ya, I know....)
  • Microwave on HIGH for no more than 60 seconds and allow to cool
ENJOY!

I think next time I might add some pecans or top with vanilla ice cream or get wild & crazy and add both... 
C'mon back & getcha some!

Til next time~
Domesticated Rebellion

THRIVING , Have you witnessed the testimonies? 
It's not about weight loss; it IS about feeling better from the inside out! 
If interested I would love to help you! 
Sign-up for a free account at https://domesticated.le-vel.com
 
  • DISCLAIMER: This post contains affiliate links meaning if you click & buy, I may be compensated. So, Thank you!

Thursday, March 1, 2018

Gooey Cheesesteak Sandwiches


GOOEY CHEESESTEAK SANDWICHES

While I've never been to Philly... I have been to Arby's... Hahaha, HuH? 
Say What?

Follow me for a second while I connect the dots. I'm writing about whats near and dear to my heart. Bad for you in a good way.  You know it.. None other than the beloved cheesy greasy meaty mouthful sandwich commonly referred to as a Cheesesteak!

See, while cruising along the recent pins of Pinterest (♥) I was directed to The Little Kitchen and this inspirational cheesesteak gem!

 1209171852


This caused me to kinda do a 'bad'Michael Jackson moon walk around my tiny kitchen island while holding up my kindle fire... Yup.... that was me. I'm not ashamed.     


Cheesesteaks was written by Julie Deily who provides two varieties. One with peppers. One with mushrooms. Both with onions. Personally, we prefer the meat mixed with sweet onions and topped with cheese. Peppers, specifically green peppers, have been known to create alottle (a lot/a little) heartburn or gas.


And frankly, heartburn or gas can jack up anything becoming a repeat at my house!


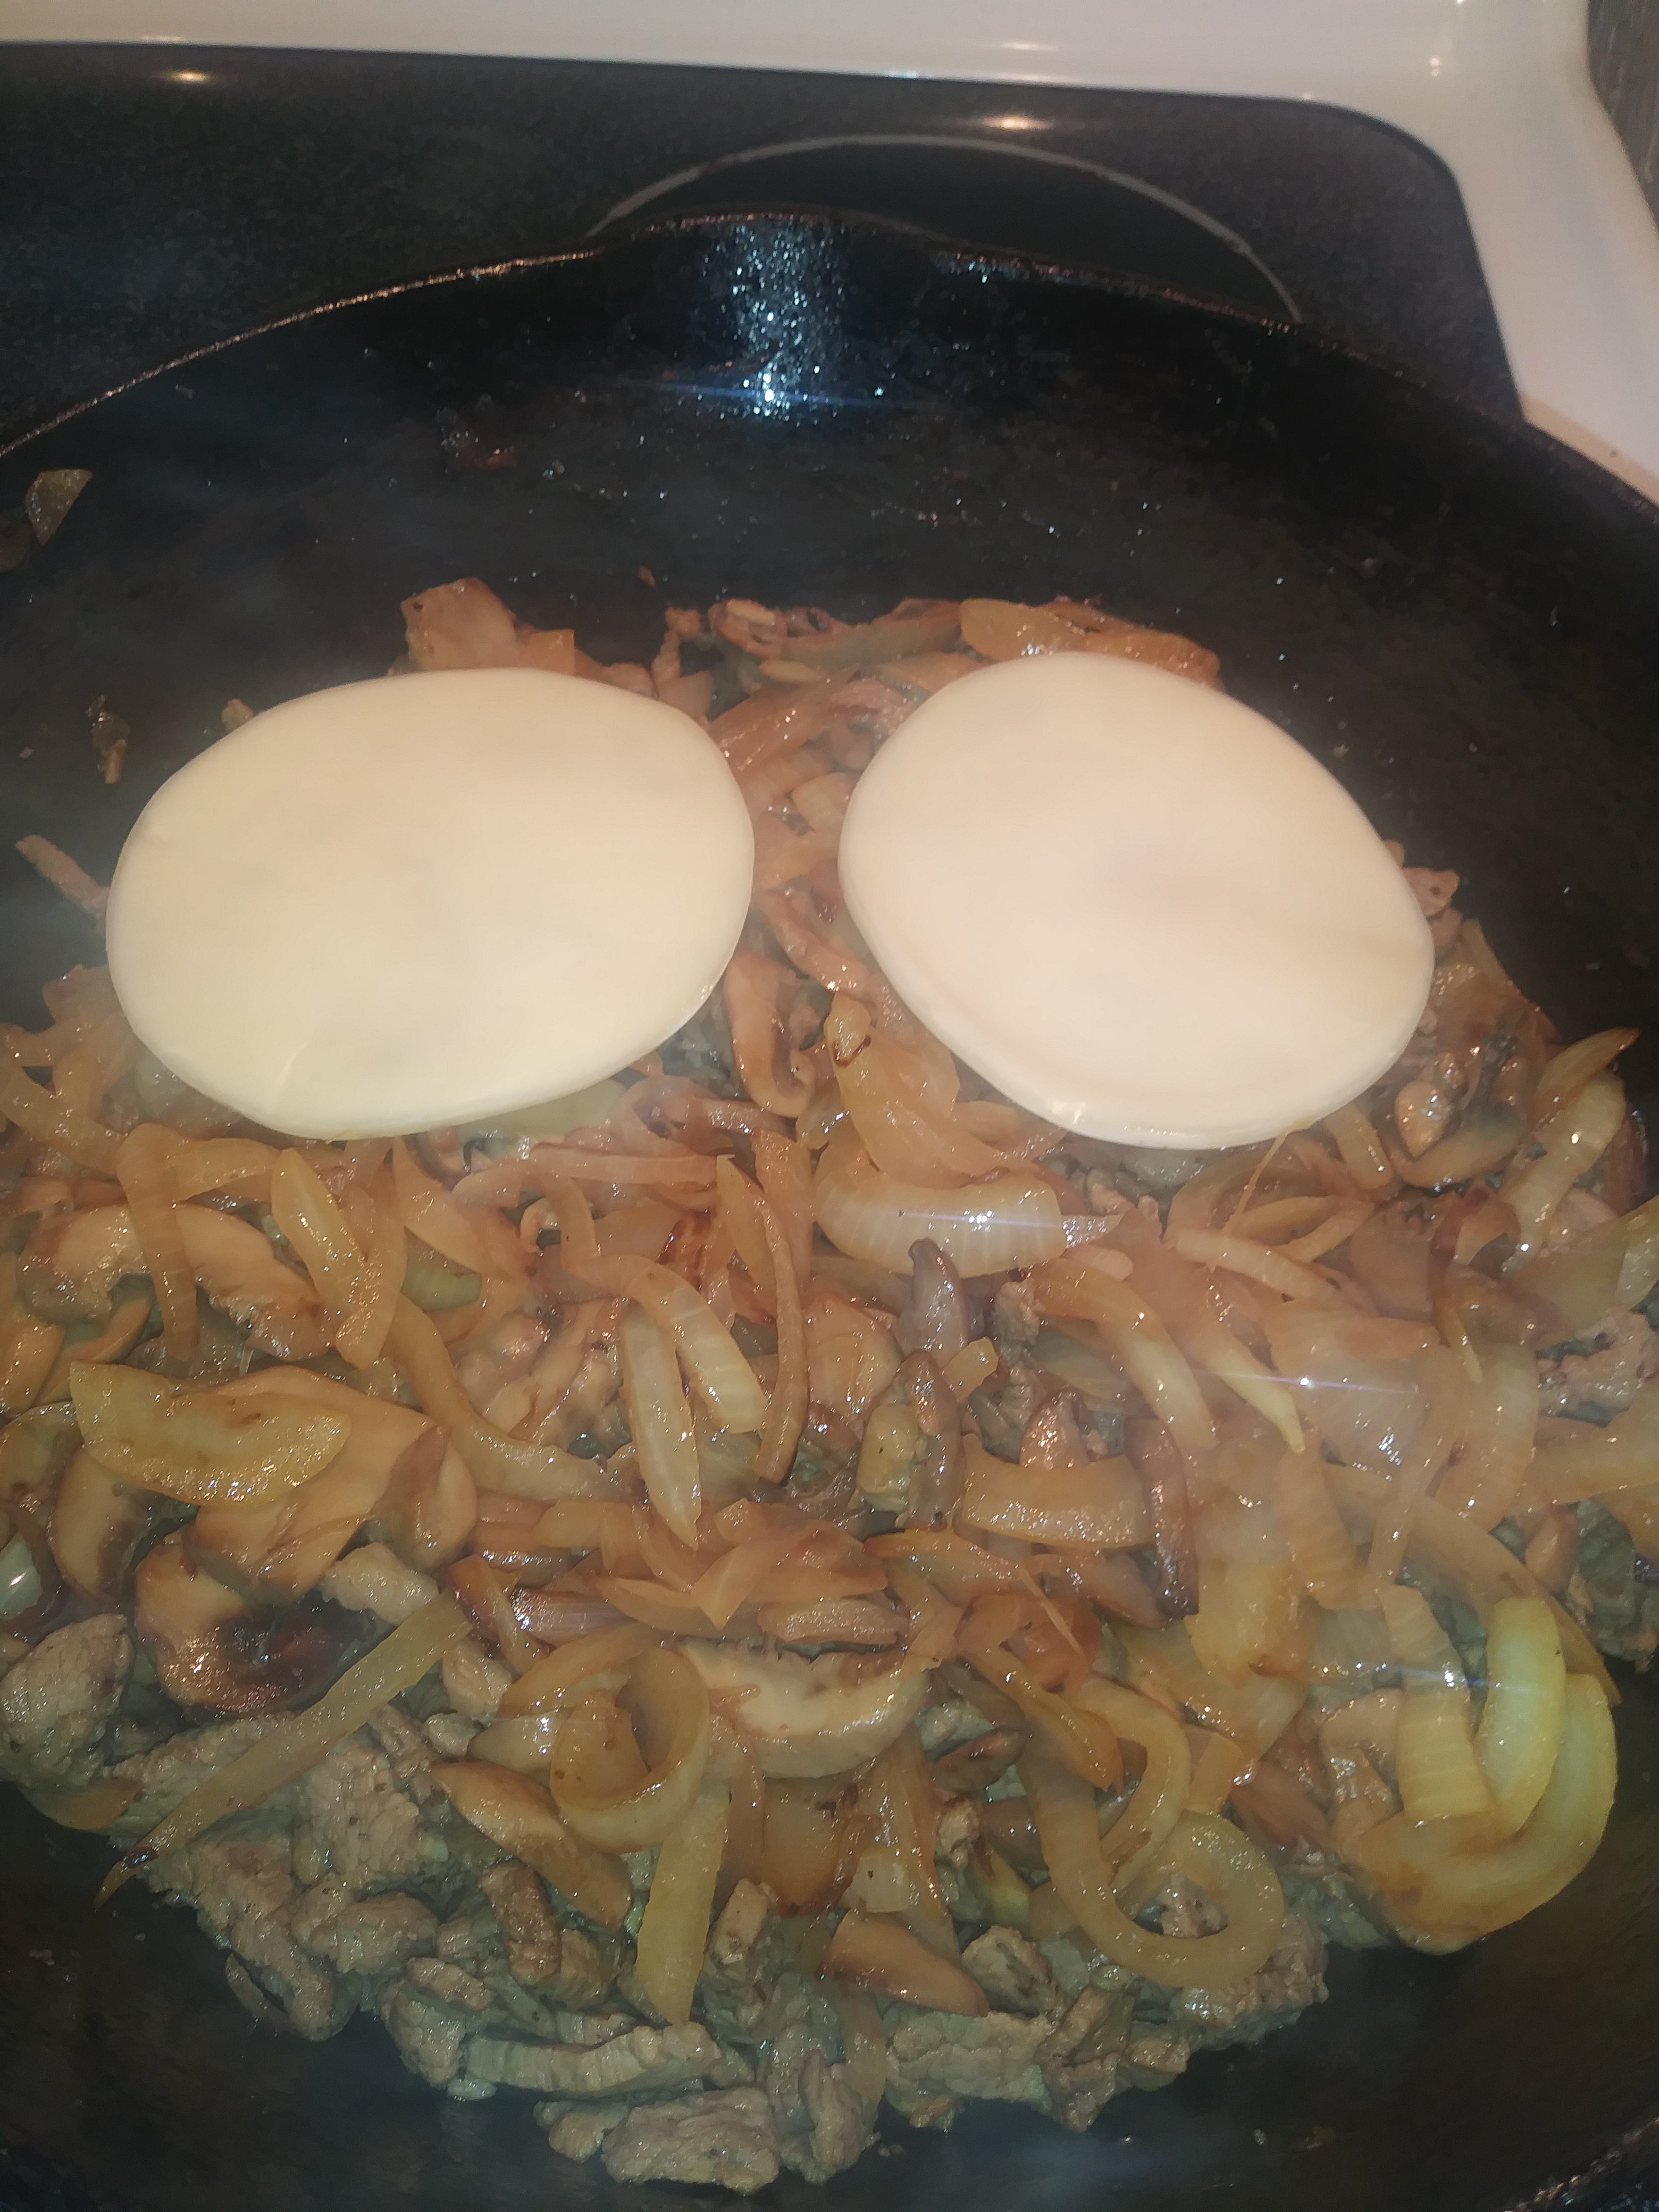
Although the recipe peaks with ribeye, I chose a thinly sliced bottom chuck round & seared the chunks over high heat in my cast iron skillet with butter. I use my cast iron cook set for practically everything from the stove top to the oven, even the grill!  (I♥Mom!)


1209171856


So, If you follow me then you know I'm all about using what is on hand & not trexing to the store for every single ingredient of a new recipe. Thus bottom chuck round... Trust me, it's still a keeper! After removing the seared meat repeat the process with the rest of your ingredients. Get real with it!

Sweet onions, mushrooms & peppers. Oh My!

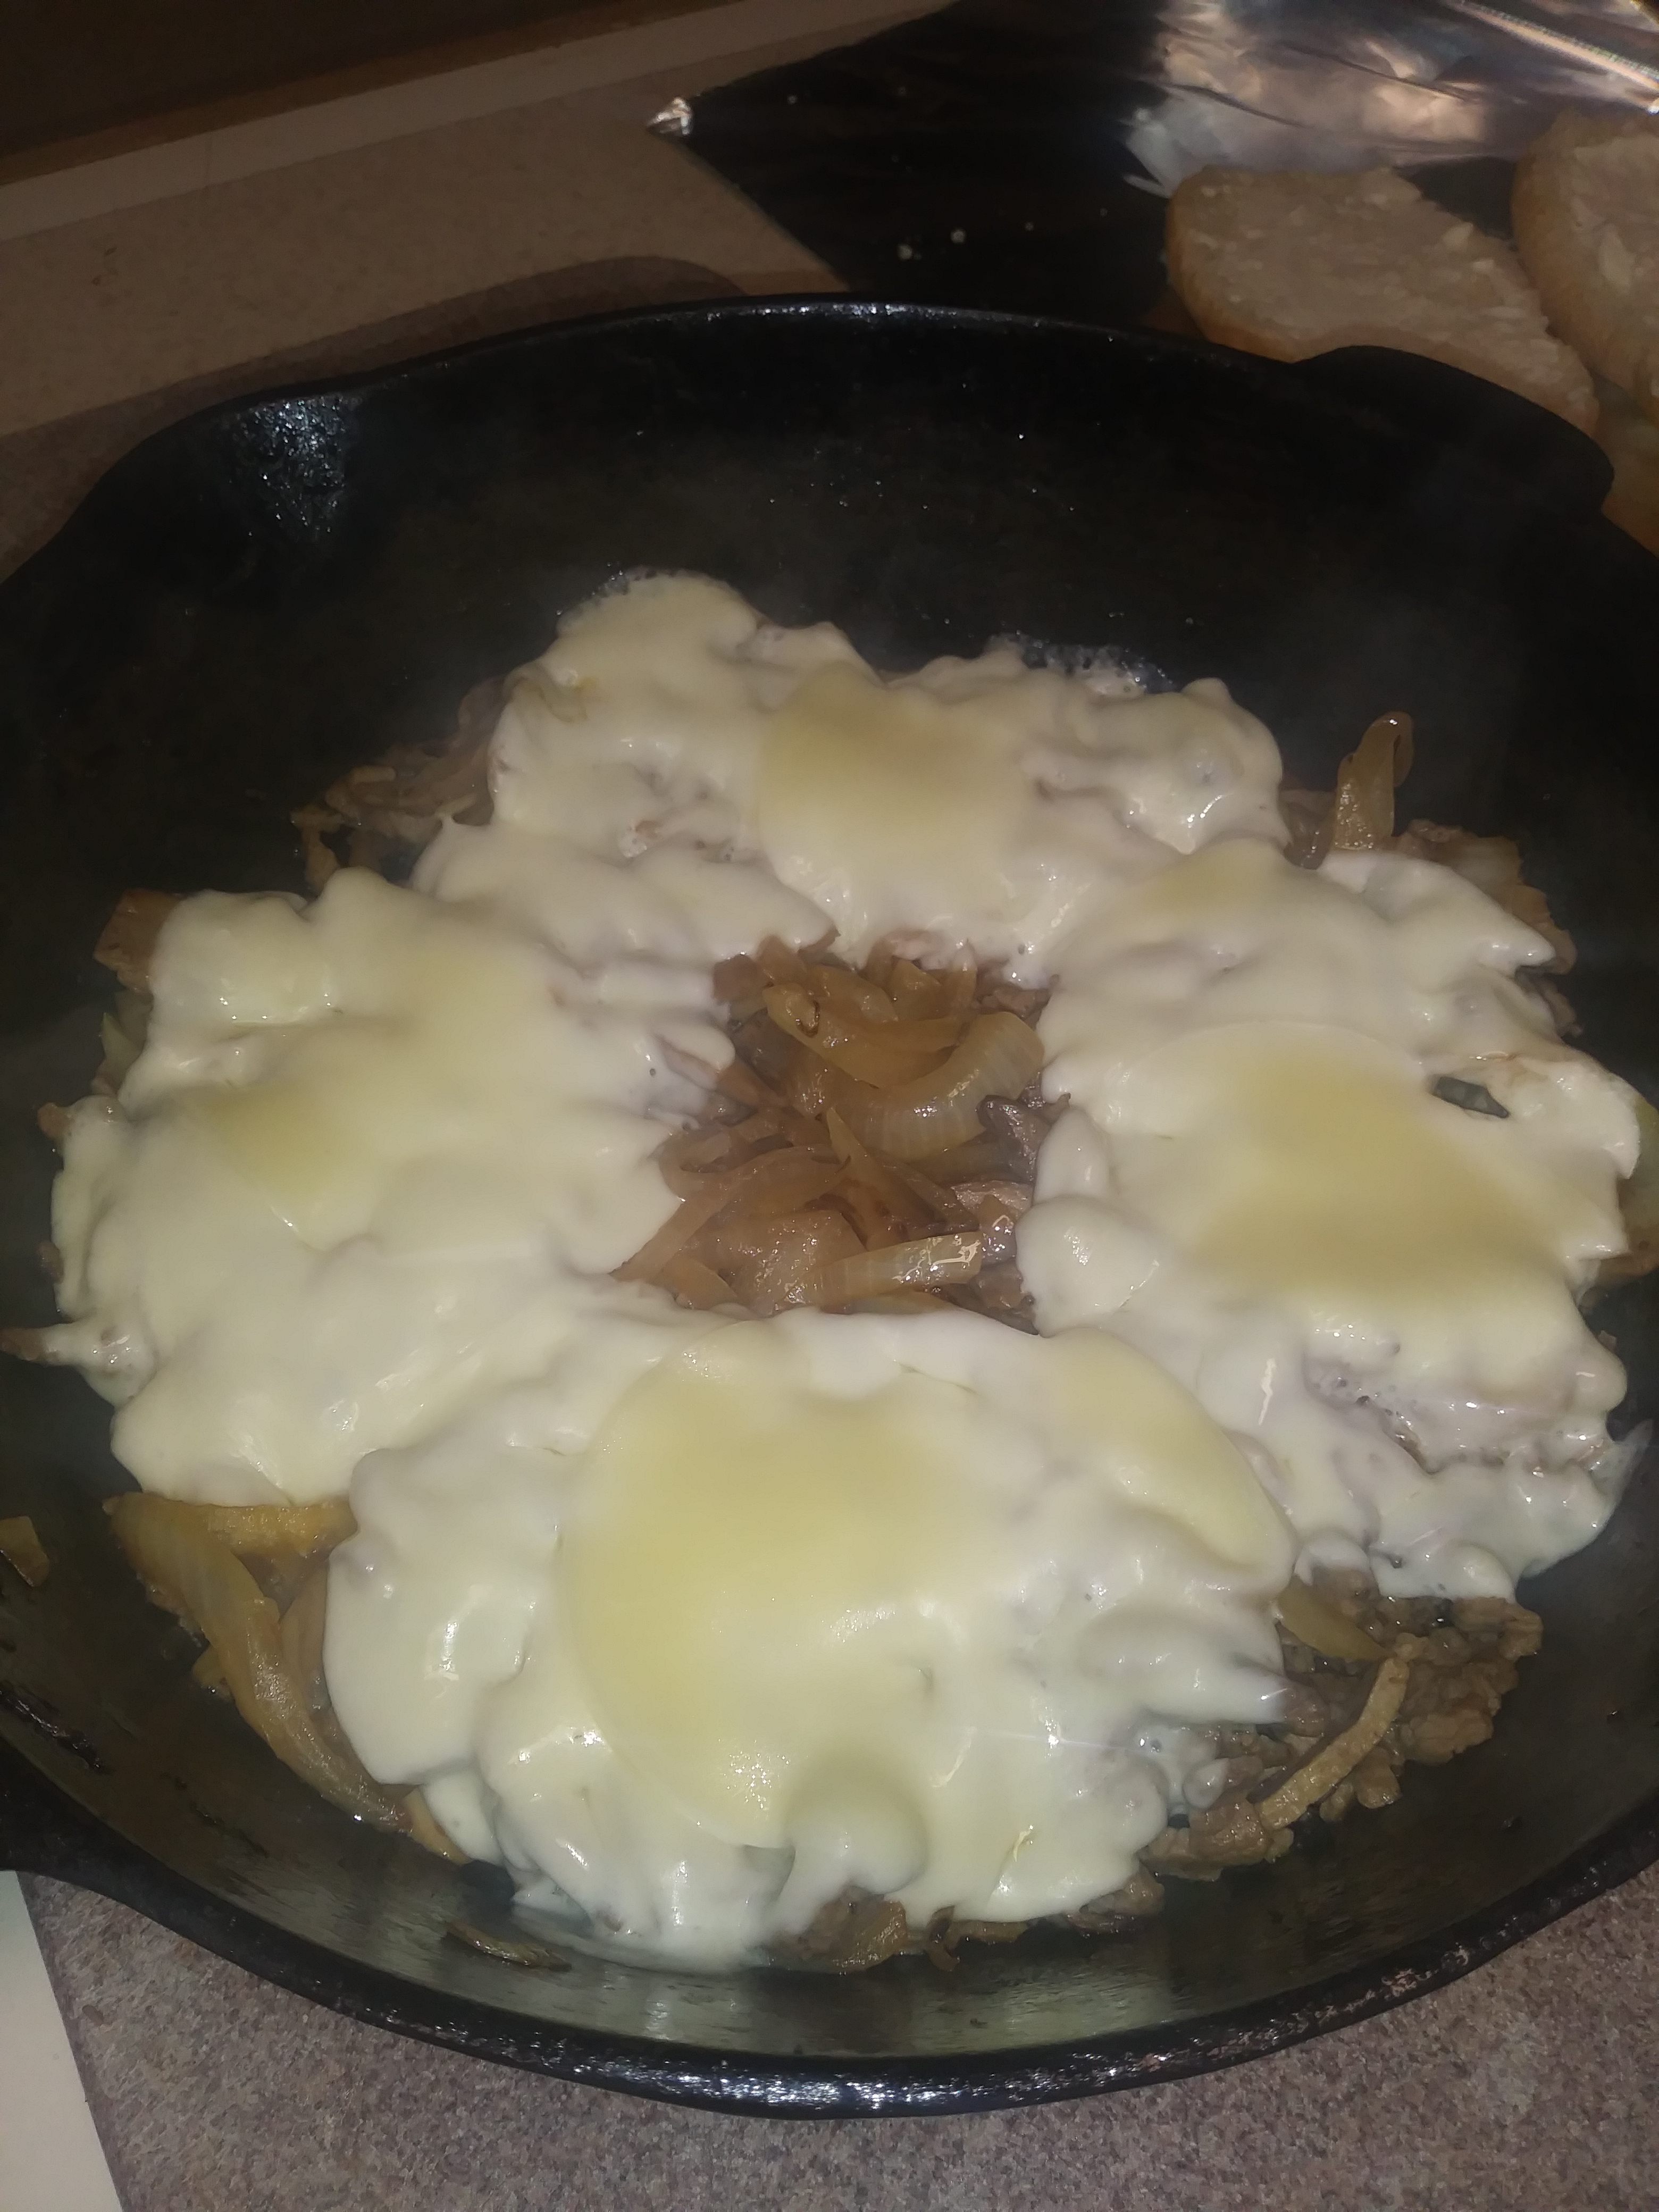
Once cooked, combine everything together in your cast iron skillet and top with provolone keeping low heat until melted.

Note: While you are searing your meat or cooking your mushrooms, onion n pepper toppings, preheat your oven to 300 or so and get your bread ready. Open your hoagie buns and slather your preferred aoli, mayo, cheesewhiz??? Place bread on individual sheets of aluminium foil and when ready, transfer the goods out of the skillet making sure to Smoosh the goods deep into one side of the soft bread before closing.

1209171919b

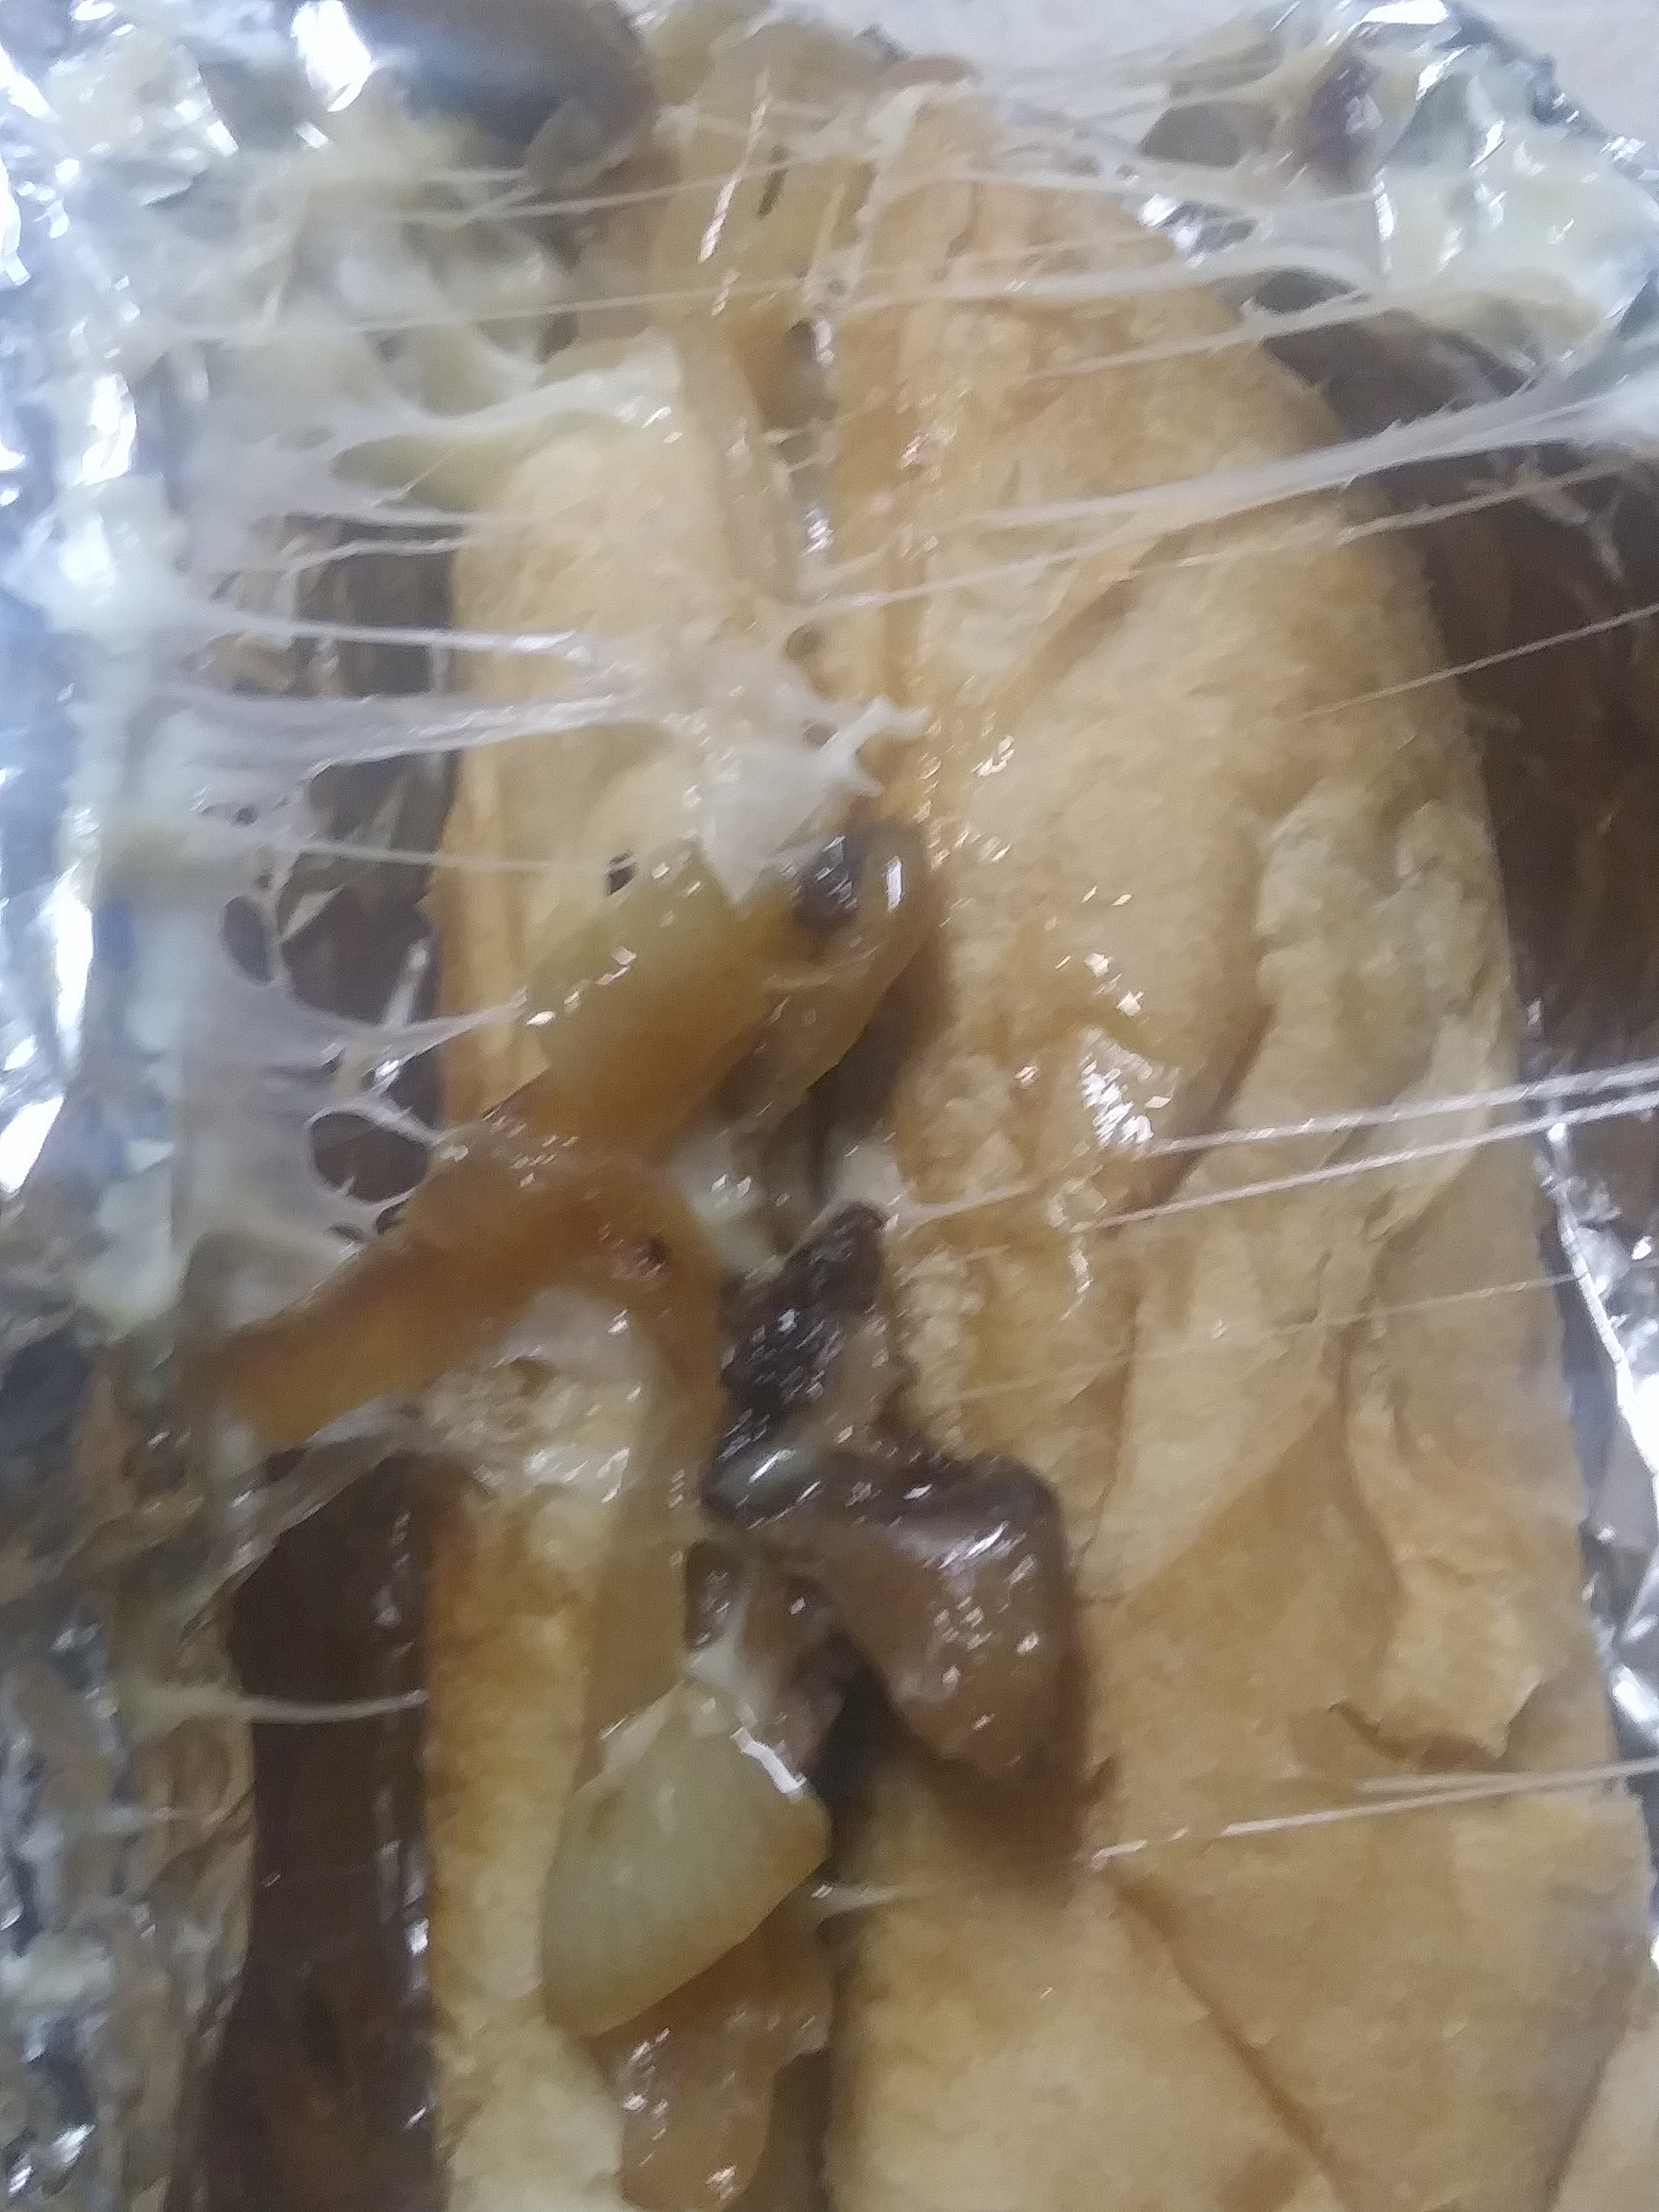
Seriously, You want this to be FULL of the juicy goodness encased in melted cheese. The next step gives you gooey goodness. :)

Tightly wrap each sandwich placing on a sheet pan. Bake these bad boys 20 minutes or so and be prepared to talk out loud as they are DELISH!

MMMmmmMMM #Goodtimes #Goodeats 
I'm sorry Arby's, Really. It's not you. It's me. (Until we meet again of course - you know how much I 💖 your curly fries!)


Til Next Time~
Domesticated Rebellion

THRIVING, It's not about weight loss, it is about feeling good from the inside out!
 https://domesticated.le-vel.com

  • DISCLAIMER: This post contains affiliate links meaning if you click & buy, I may be compensated. So, Thank you!

Monday, November 27, 2017

Chicken and Dumplings

Baby it's cold outside!

When the temps start dropping outside, that's my cue for stick to your ribs grub for my guys! They work out in the elements and need the comfort of home warming them from the inside out!

While searching Pinterest (I love Pinterest) for dinner ideas I usually have the Food Network on in the back ground. On this particular day #KatieLee and #TheKitchen caught my eye (and my belly)!

NOTE: You may have seen these pics already if you follow me anywhere but here. Sorry for the duplication but this really is worth it! LOL.

Chicken and Dumplings

Something I had tried and tried (and failed and failed). No lie.

I had tried for FOREVER to make dumplings. Only once have I ever made fluffy dumplings & for the life of me - could never repeat. (Until now) They always ended up as a tasteless gobble of goo.
Can you say Yuk!

Anyone else been there?

And then there it was! Katie Lee and all her glory showing me what I needed to do!

Oh Happy Dance!

Excitement building at seeing her fluffy, light and beautiful Dumplings! Immediately I knew what was for dinner!

Of course, I switched things up (as I always do) and I couldn't be happier with the end result!

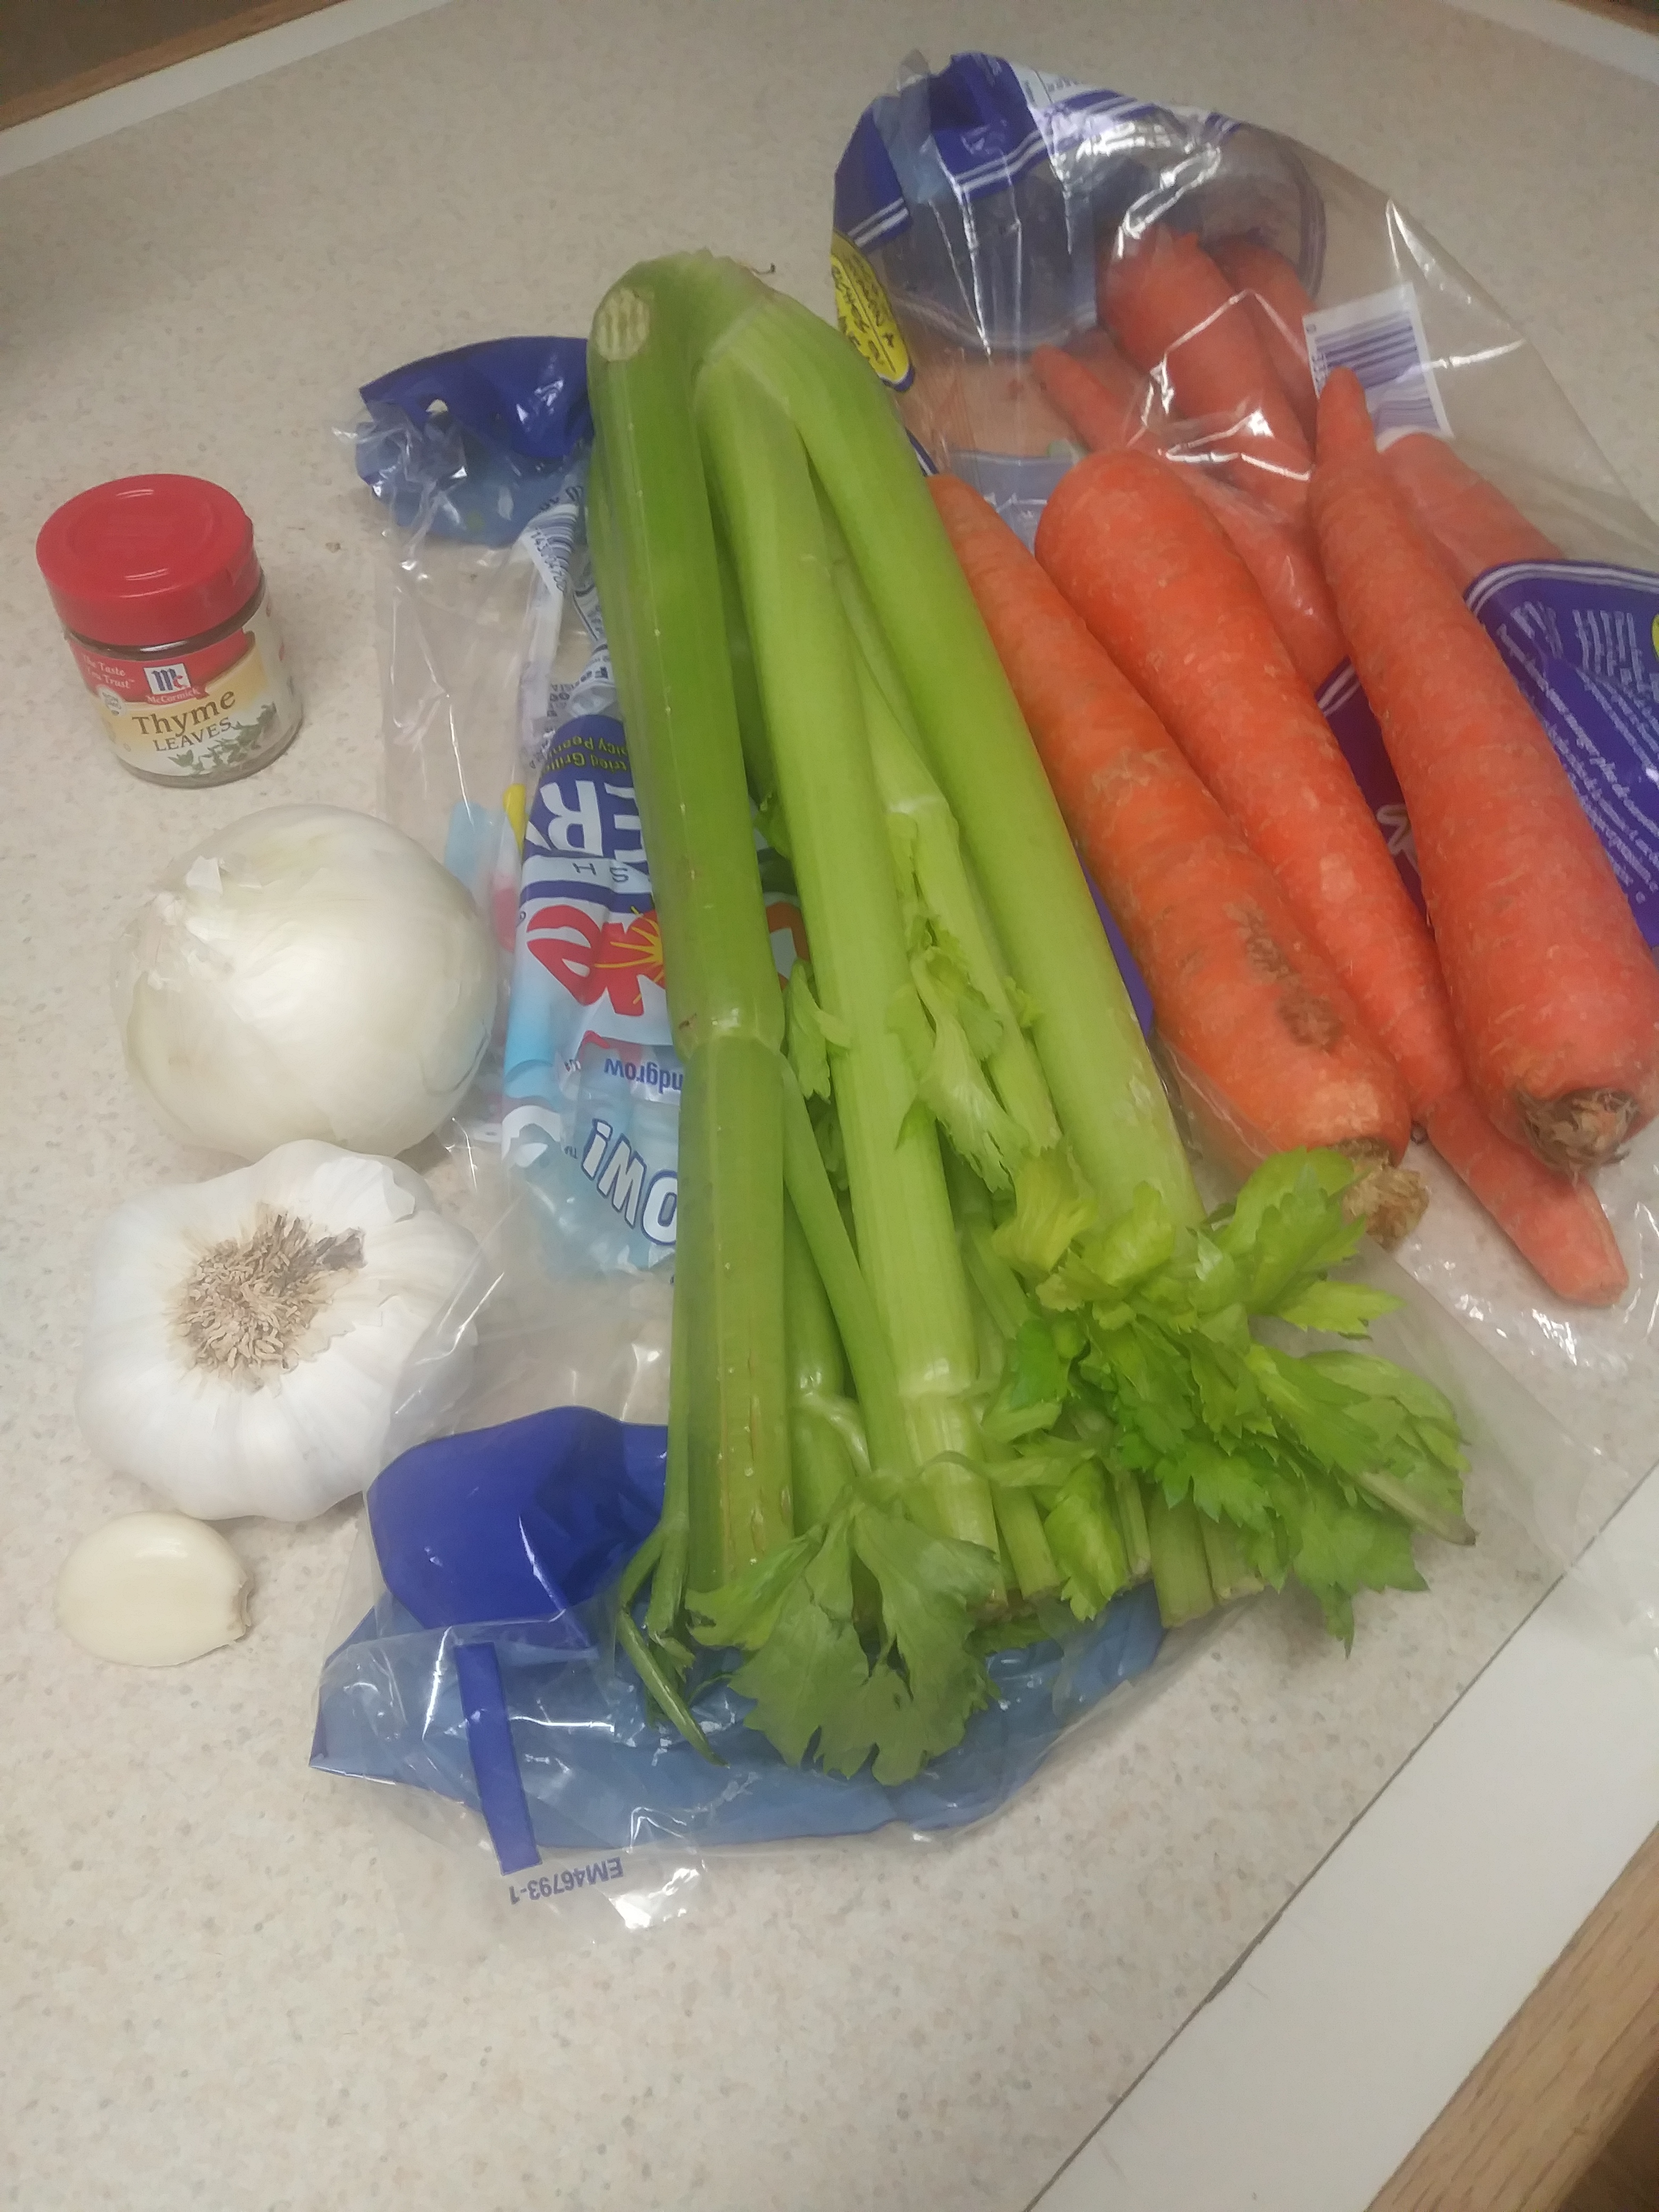
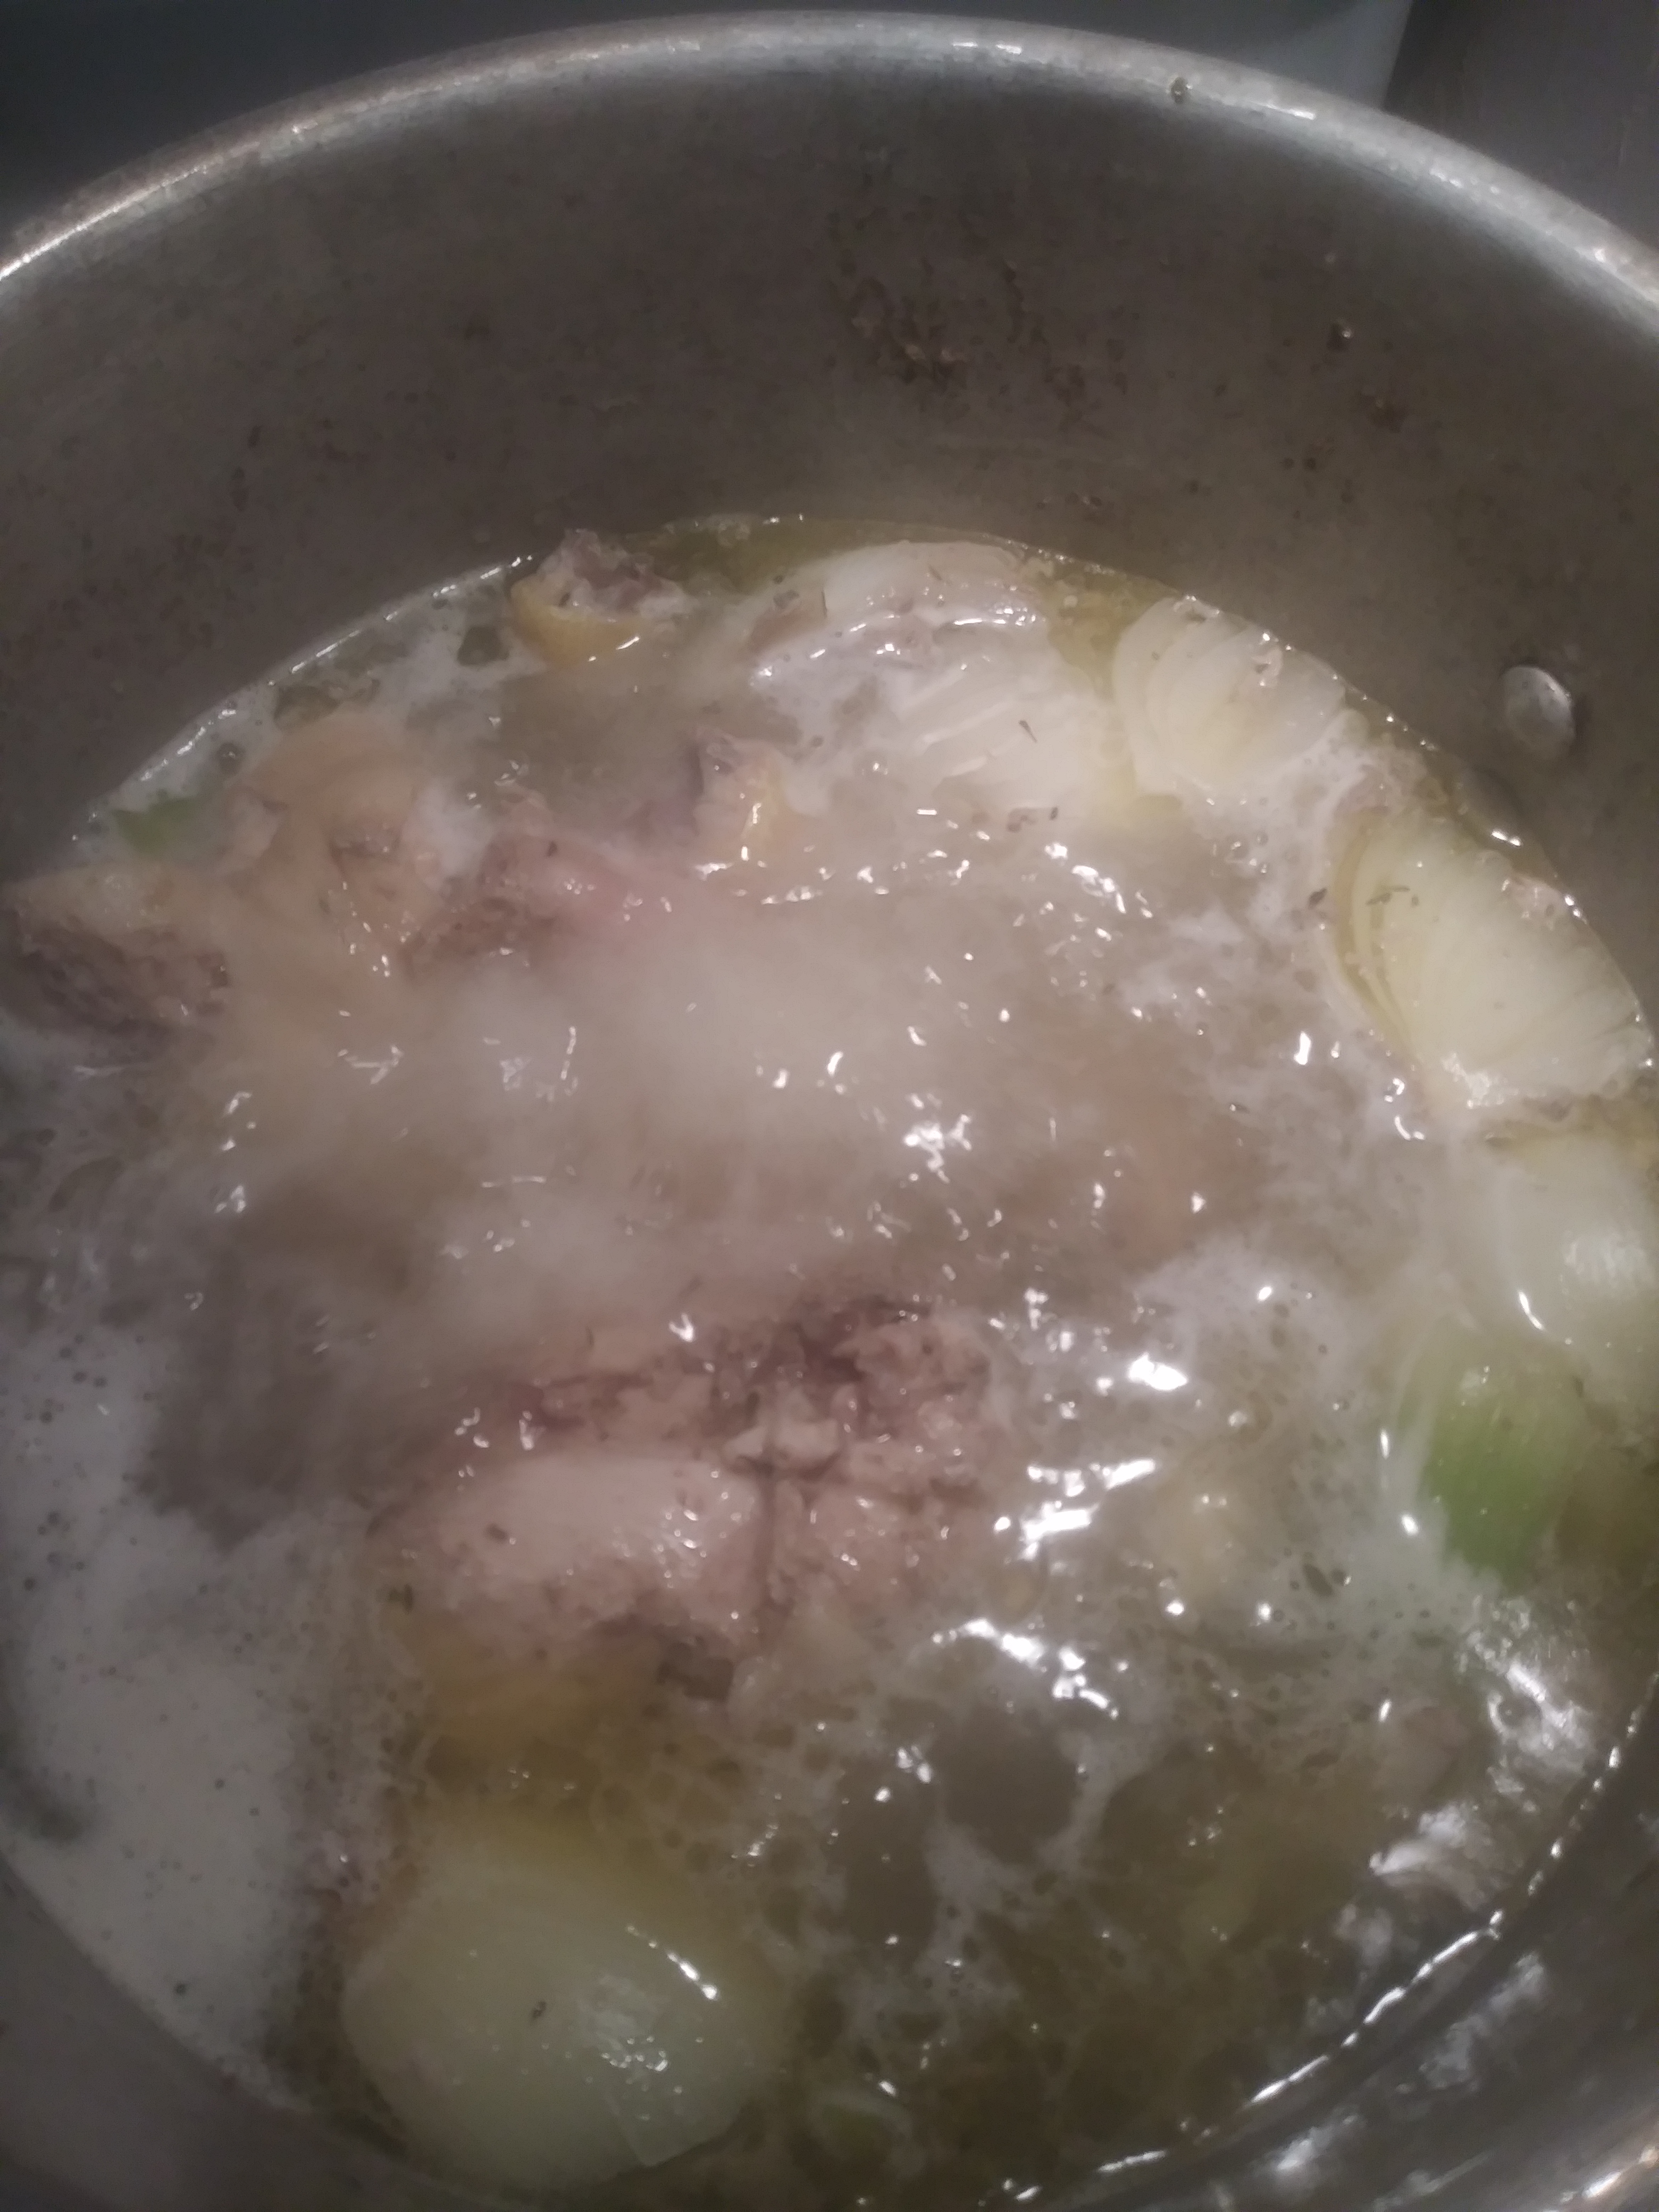
First, I made my own stock with onion, carrot, celery, thyme, garlic and a whole chicken. (Memories of my first effort to cut up a chicken make me chuckle... I butchered that baby beyond recognition, haha!)

13231322

Creating your own stock is easy. It tastes so much better than canned, although canned stock is totally acceptable! The delicious aroma will waif through your home having  your family anxiously awaiting to be called for dinner time!

1329

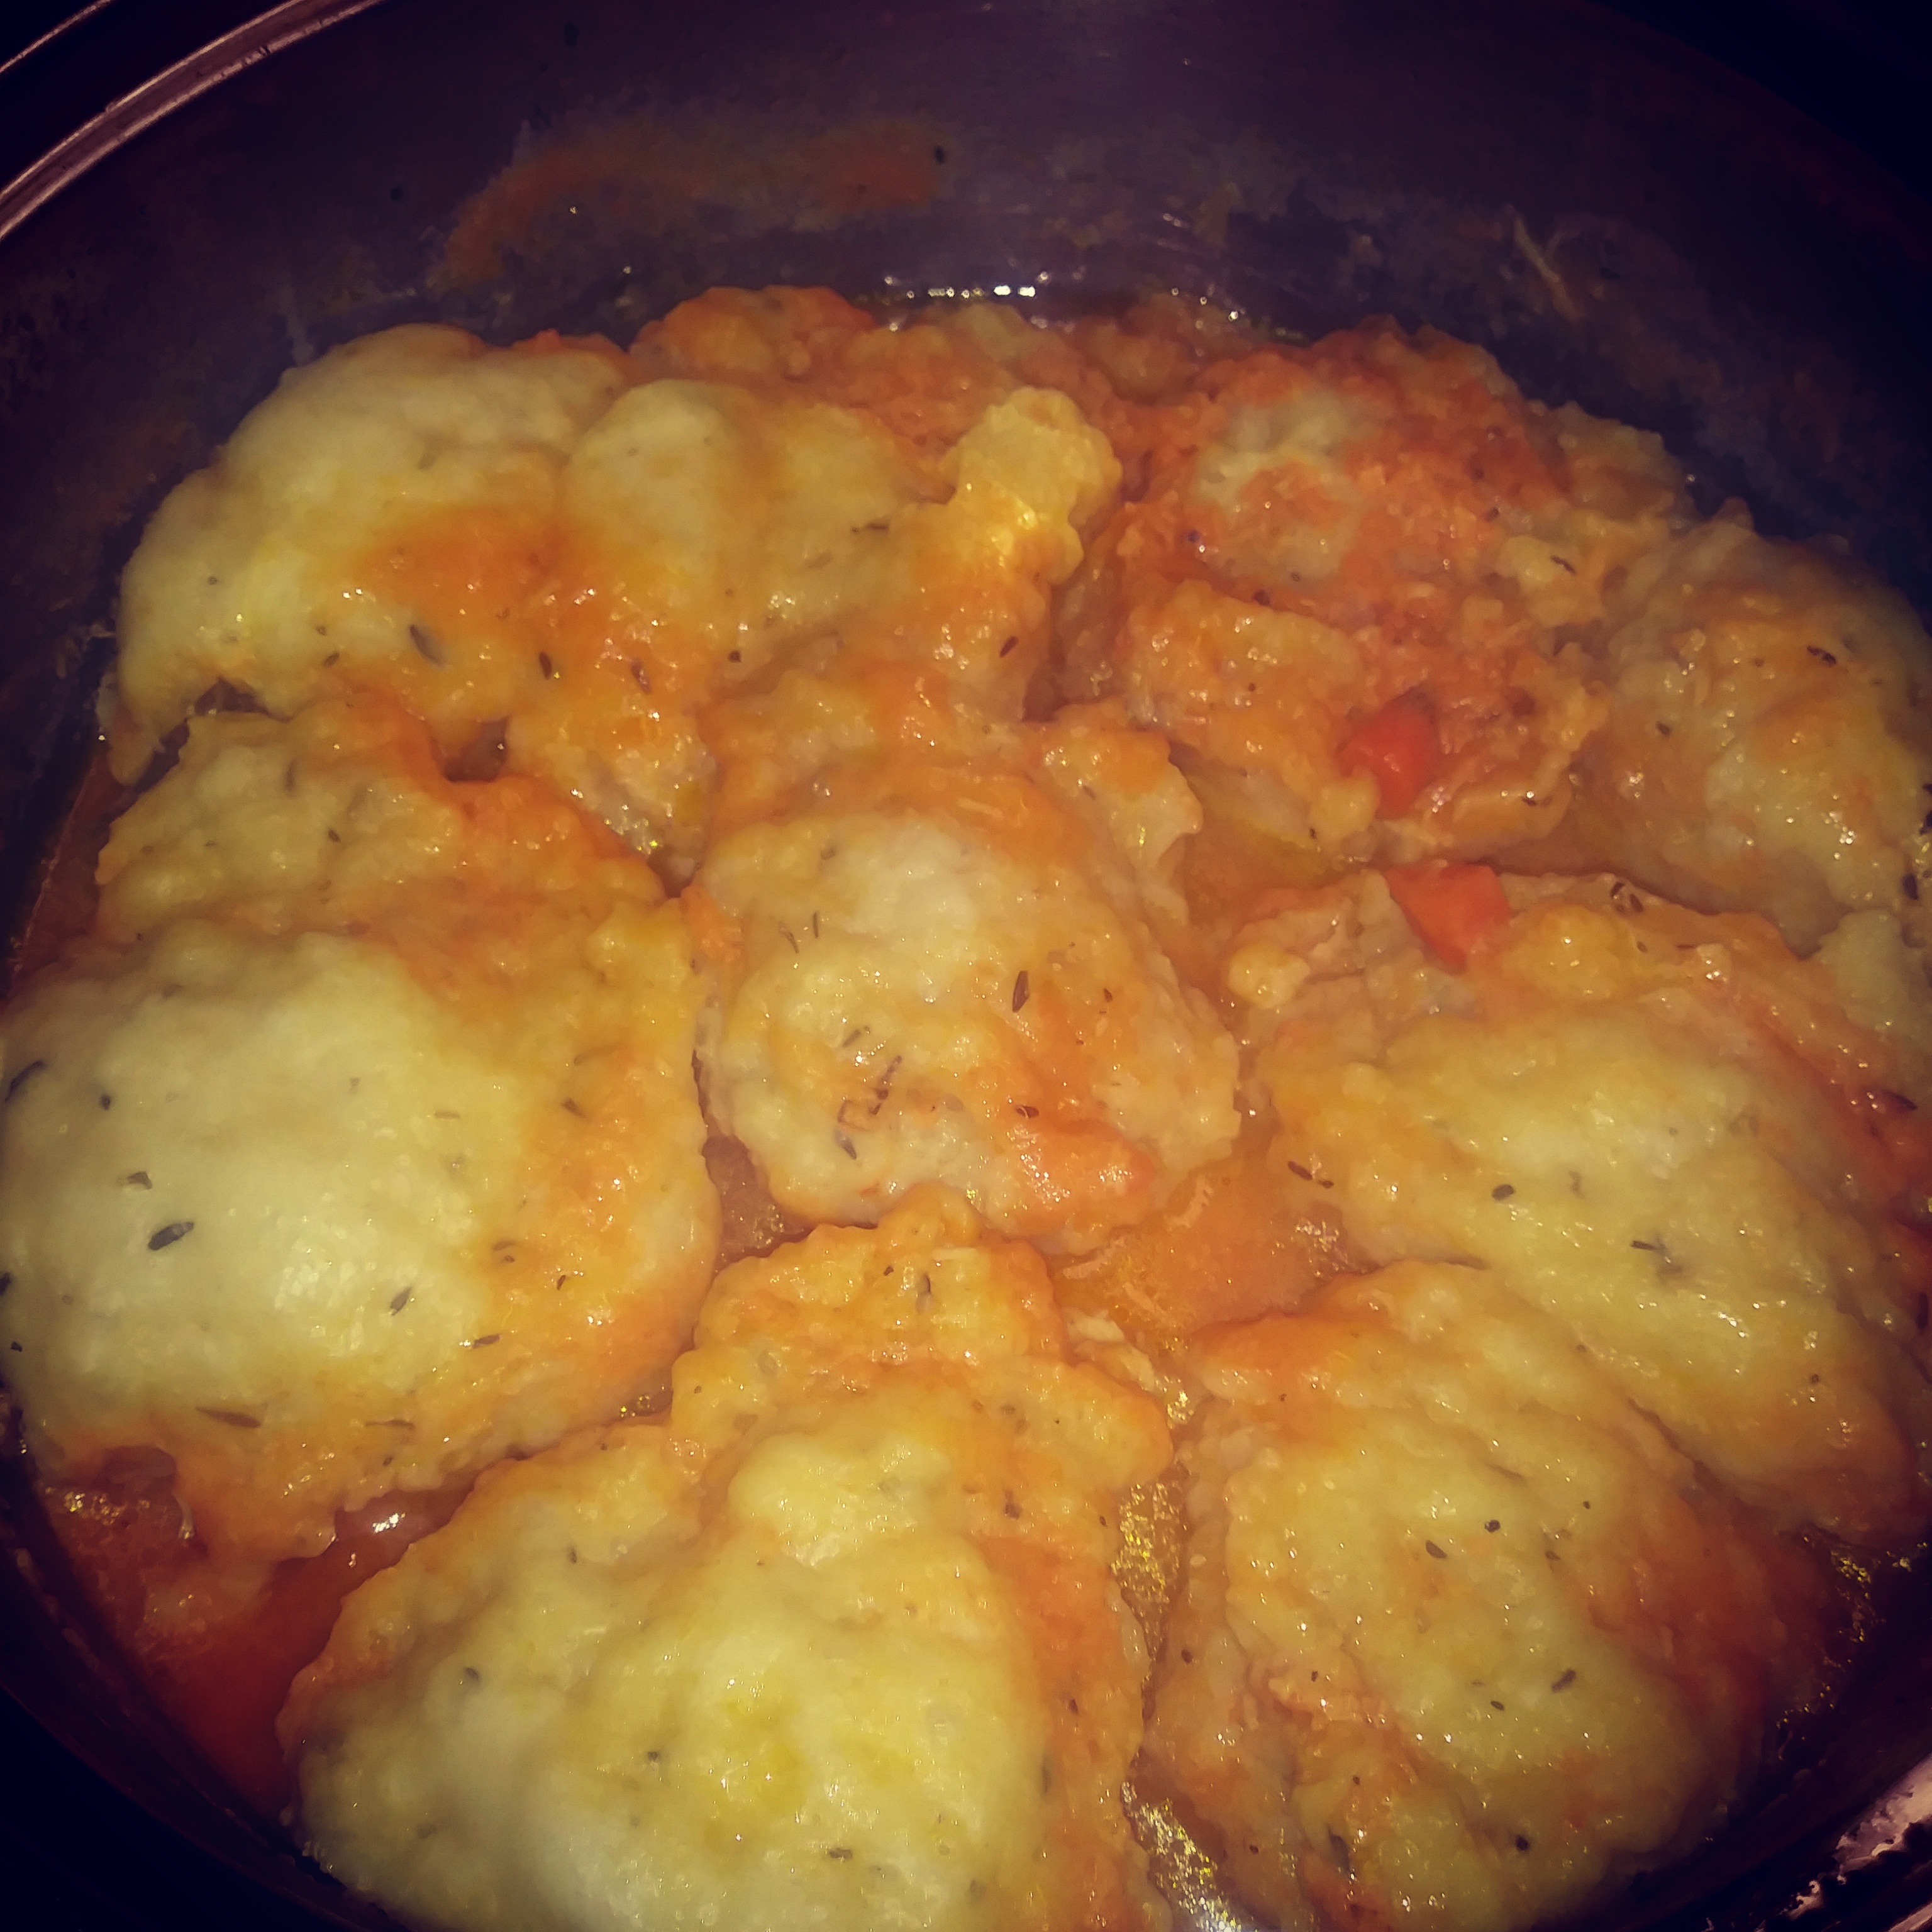
Now, mine has an orange appearance because I used the vegetable medley from my stock as a substitute for the flour thickener.

Remember the carrots?

Ya, don't let the color fool you!
1327

Whatcha think?

Glorious Happy Ending! (of the food kind, of course..LOL)

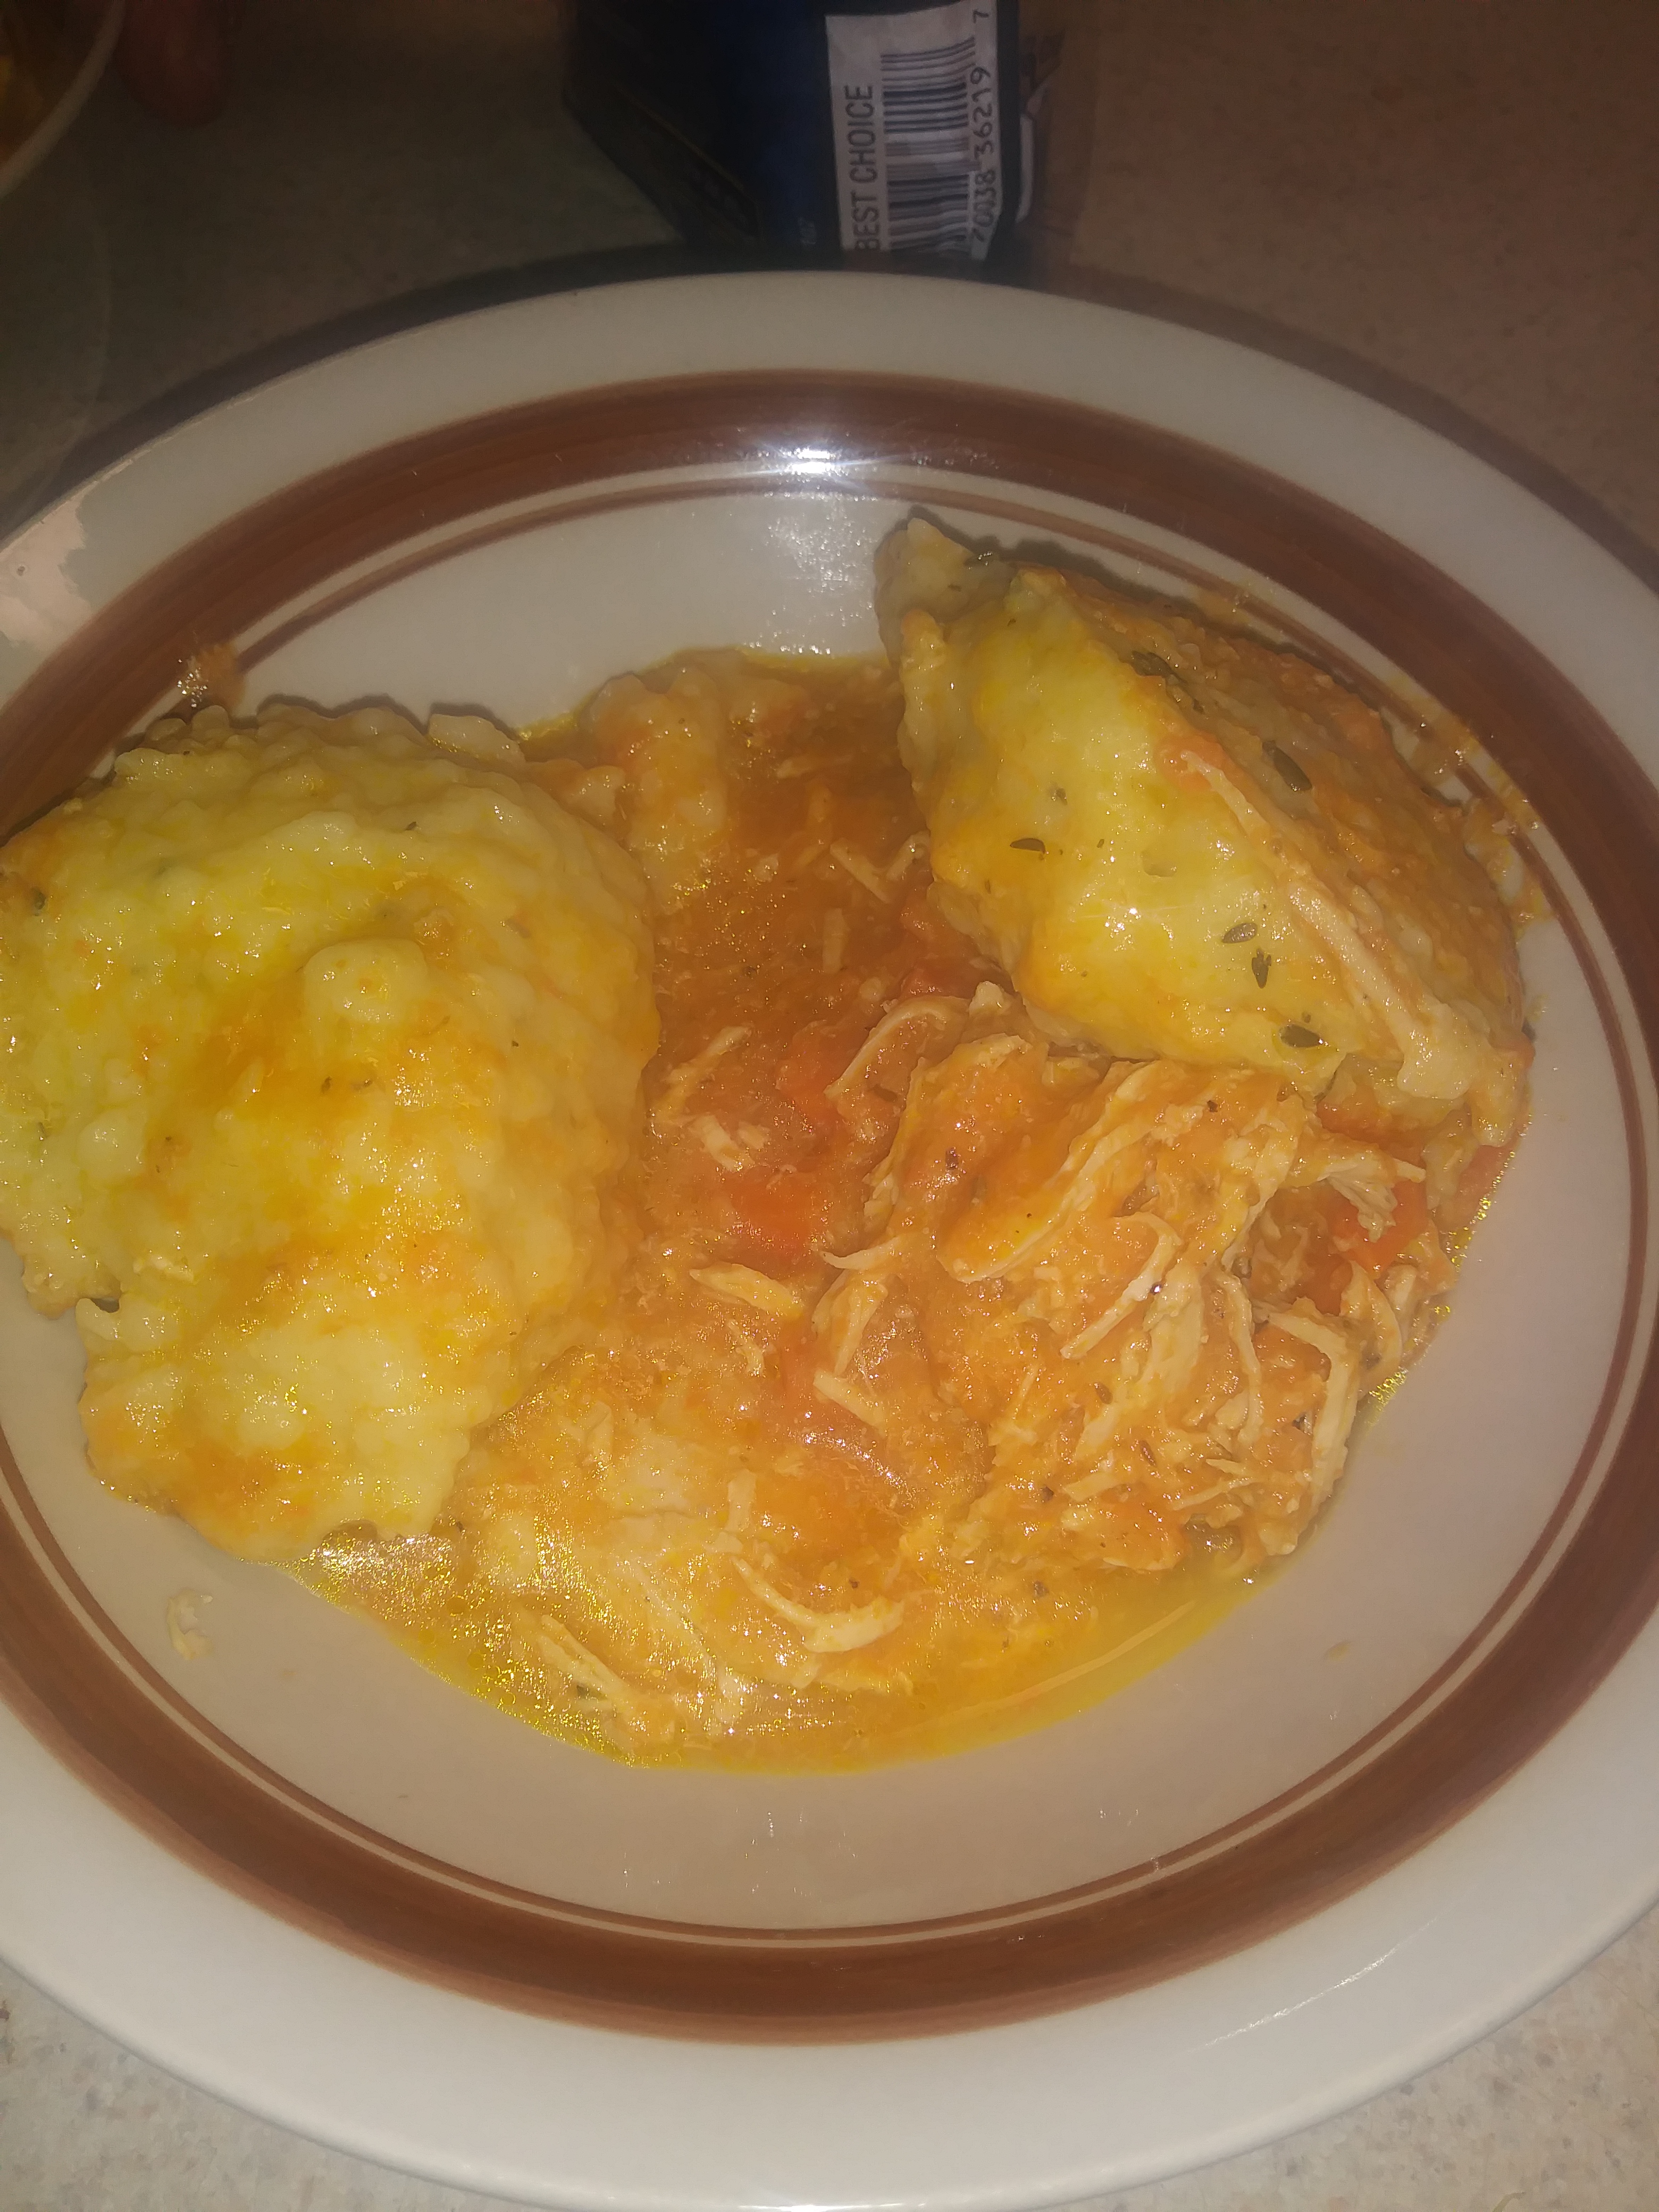
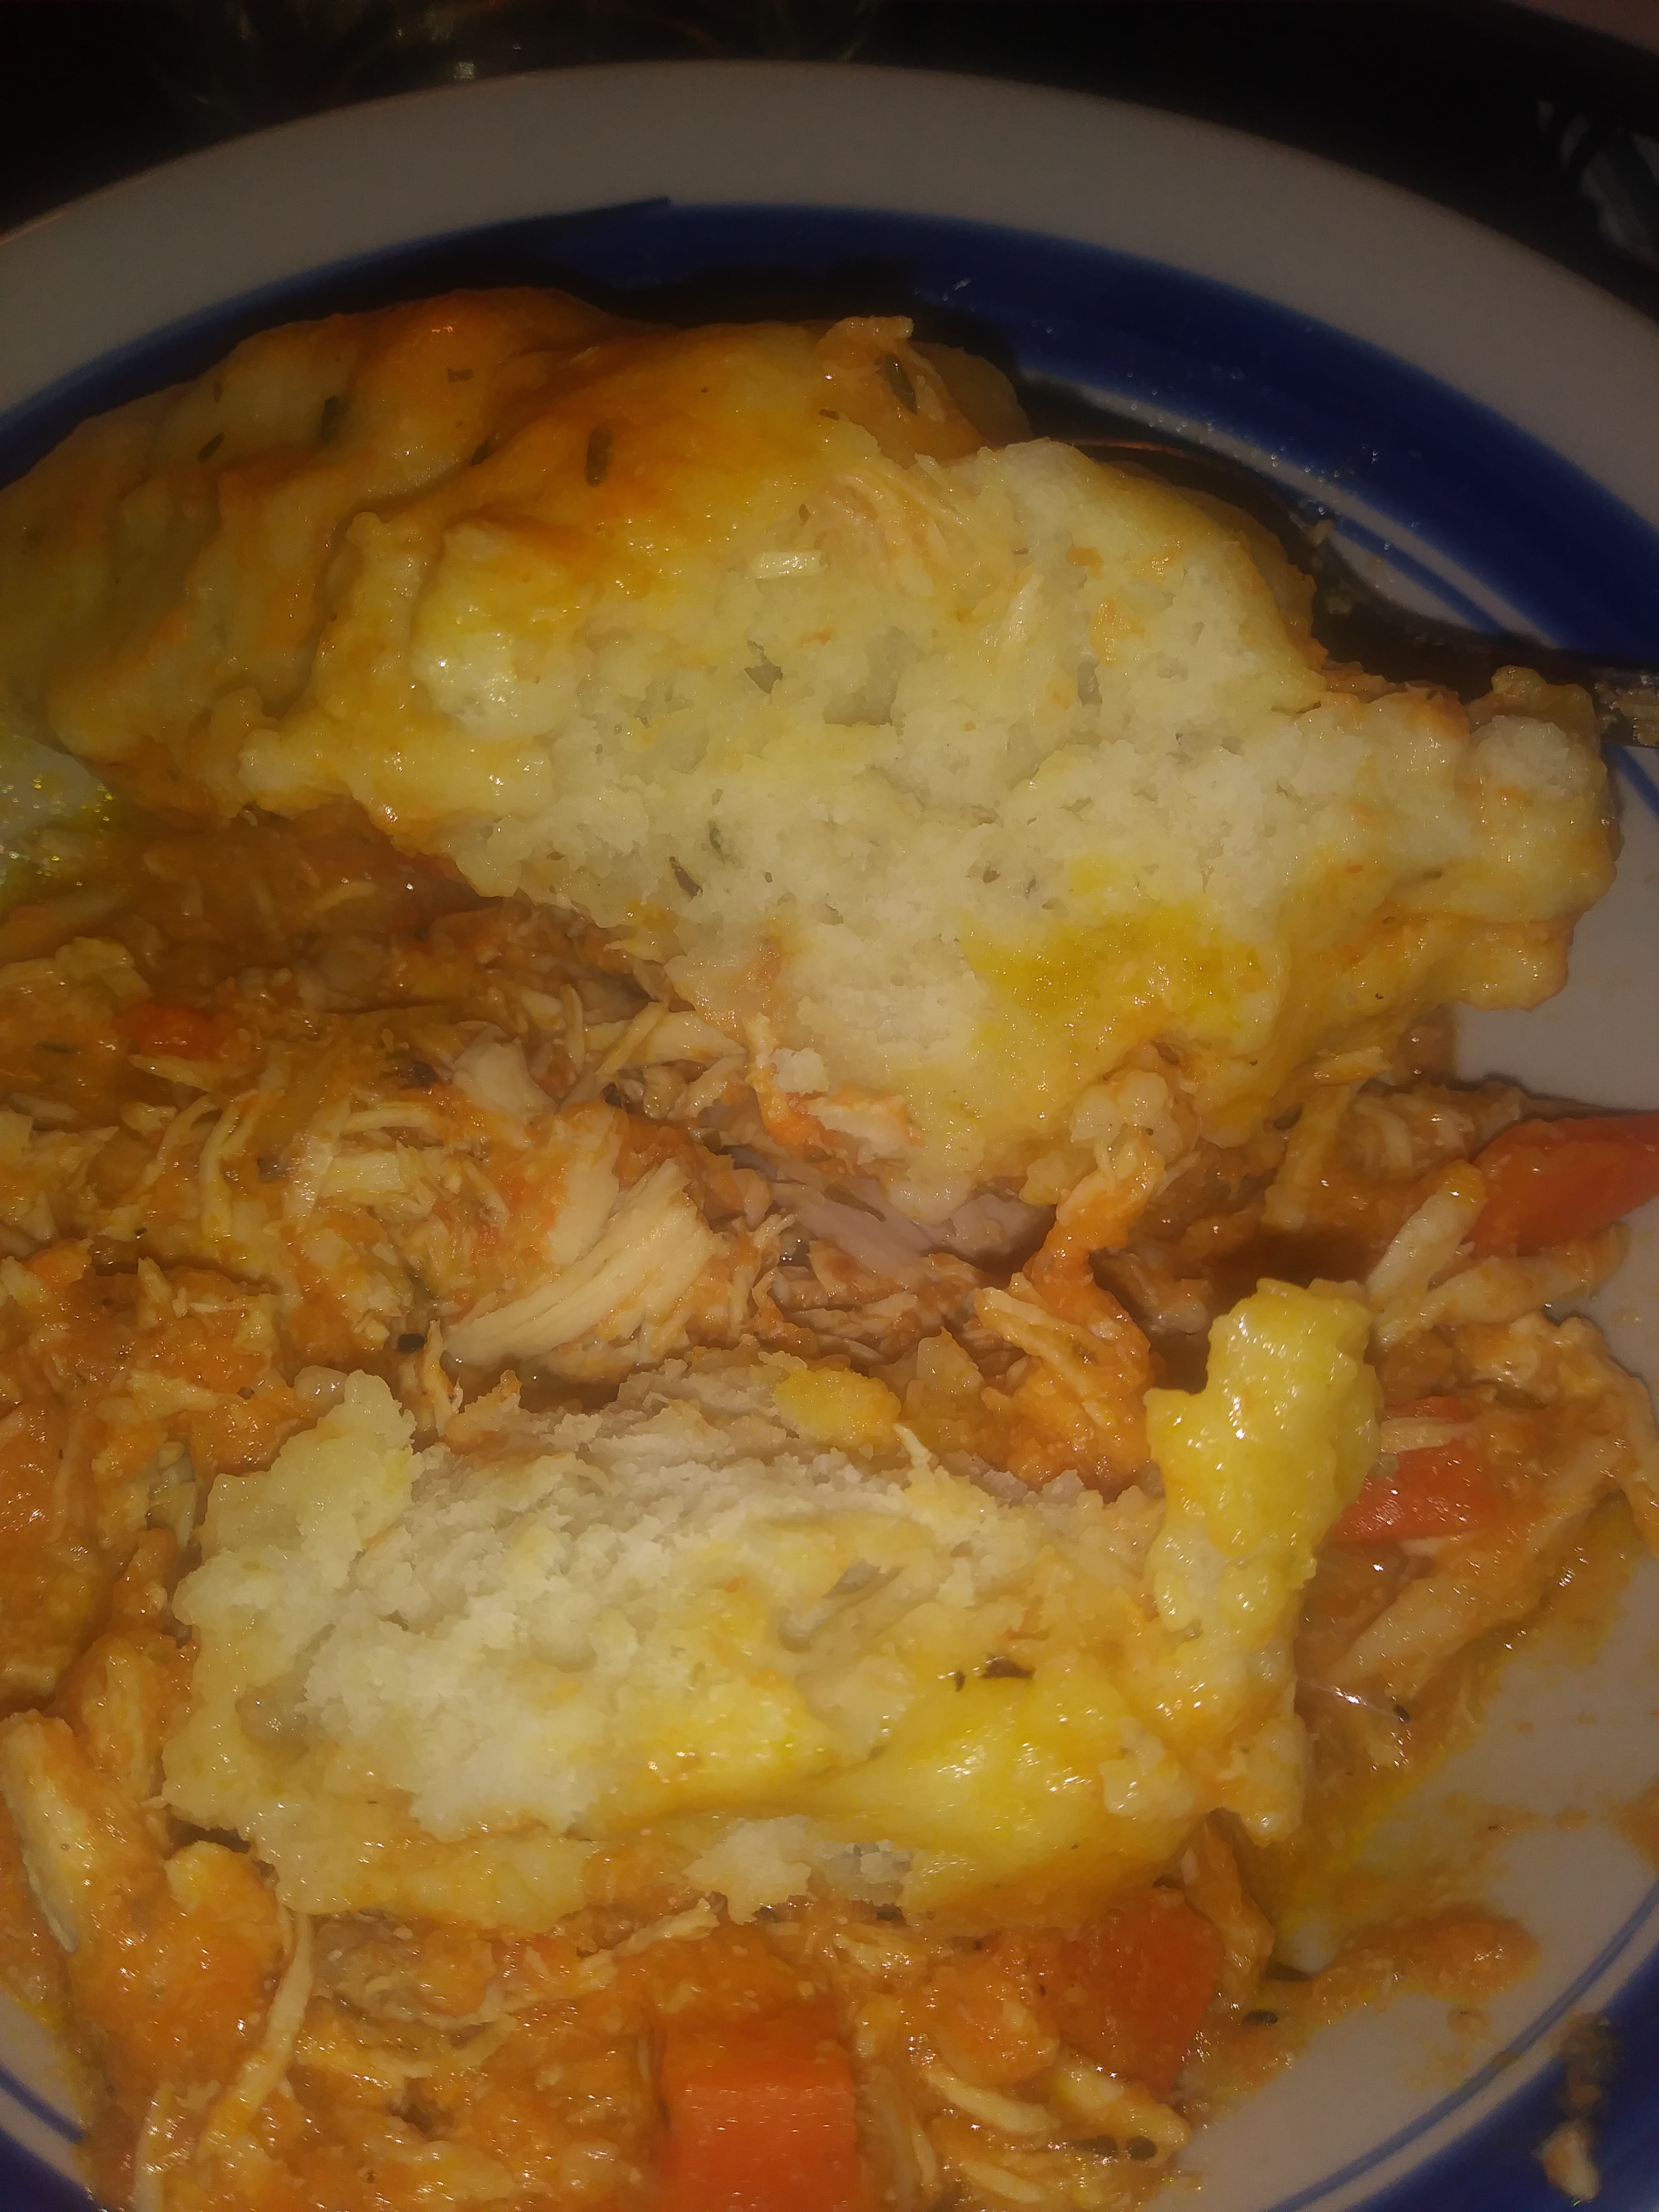
Also, I skipped the mixed vegetables and went with my 'now' family tradition of using the medley for flavor, but you can still see some chunky carrots.

Tweak this to your own taste buds!

1328

These are Beyond scrumptious! (and totally rib sticking & undo your top button worthy!)

Try it! I can promise you will love it!

Til Next Time ~
Domesticate Rebellion

THRIVING ~ Have you witnessed the testimonies? It’s not about weight loss; it IS about feeling better from the inside out! If interested I would love to help you! Knowledge is Power! Sign-up for a FREE account & information at https://domesticated.le-vel.com
 
  • DISCLAIMER: This post may contain affiliate links meaning if you click & buy, I may be compensated. So, Thank you!

Thursday, October 19, 2017

For the Love of Spring

Hey folks, Is it cold where you live? Fall has arrived in my corner & while I was going through my images I was transported back to early June when veggies were ripening in the garden and bursting with the best flavor.

This image makes my mouth water! Seriously!

This delicious salad is one that I typically only get when we go out to eat. Until now!

This past Spring/Summer season, I started my very first little veggie garden to see if I have green thumbs or not.

Well, my thumbs are not green (but at least I have thumbs!) LOL

And while this was suppose to be healthy aka not so tasty, I made a home-made red wine vinegar and honey dressing that knocked it out of the park! Even the hubs enjoyed! #Score

Next year #fresh will be better than ever!

Strawberry Spinach Almonds Avocado Oh My

Til Next time ~
Domesticated Rebellion