Amazon

Showing posts with label scratch. Show all posts

Tuesday, July 24, 2018

TACO Seasoning

TACO Seasoning - You make yourself!

I don't know about all y'all but I never use a complete package of store-bought Taco Seasoning. In my opinion, the flavor just isn't completely right so typically I'll use 1/2 package. While I try to save the other portion, it never happens. The rolled up package gets tossed into the trash and wouldn't you know it, I'll forget that tidbit just when I need to remember it! Calling all that have been there...

Well no more... No more will I only get 1/2 when I want it all.. LOL

I found (and have since tested) the perfect seasoning mixture for taco meat. It isn't over powering. It isn't too spicy and it doesn't have all of the added extras you find in the pre-packaged version.

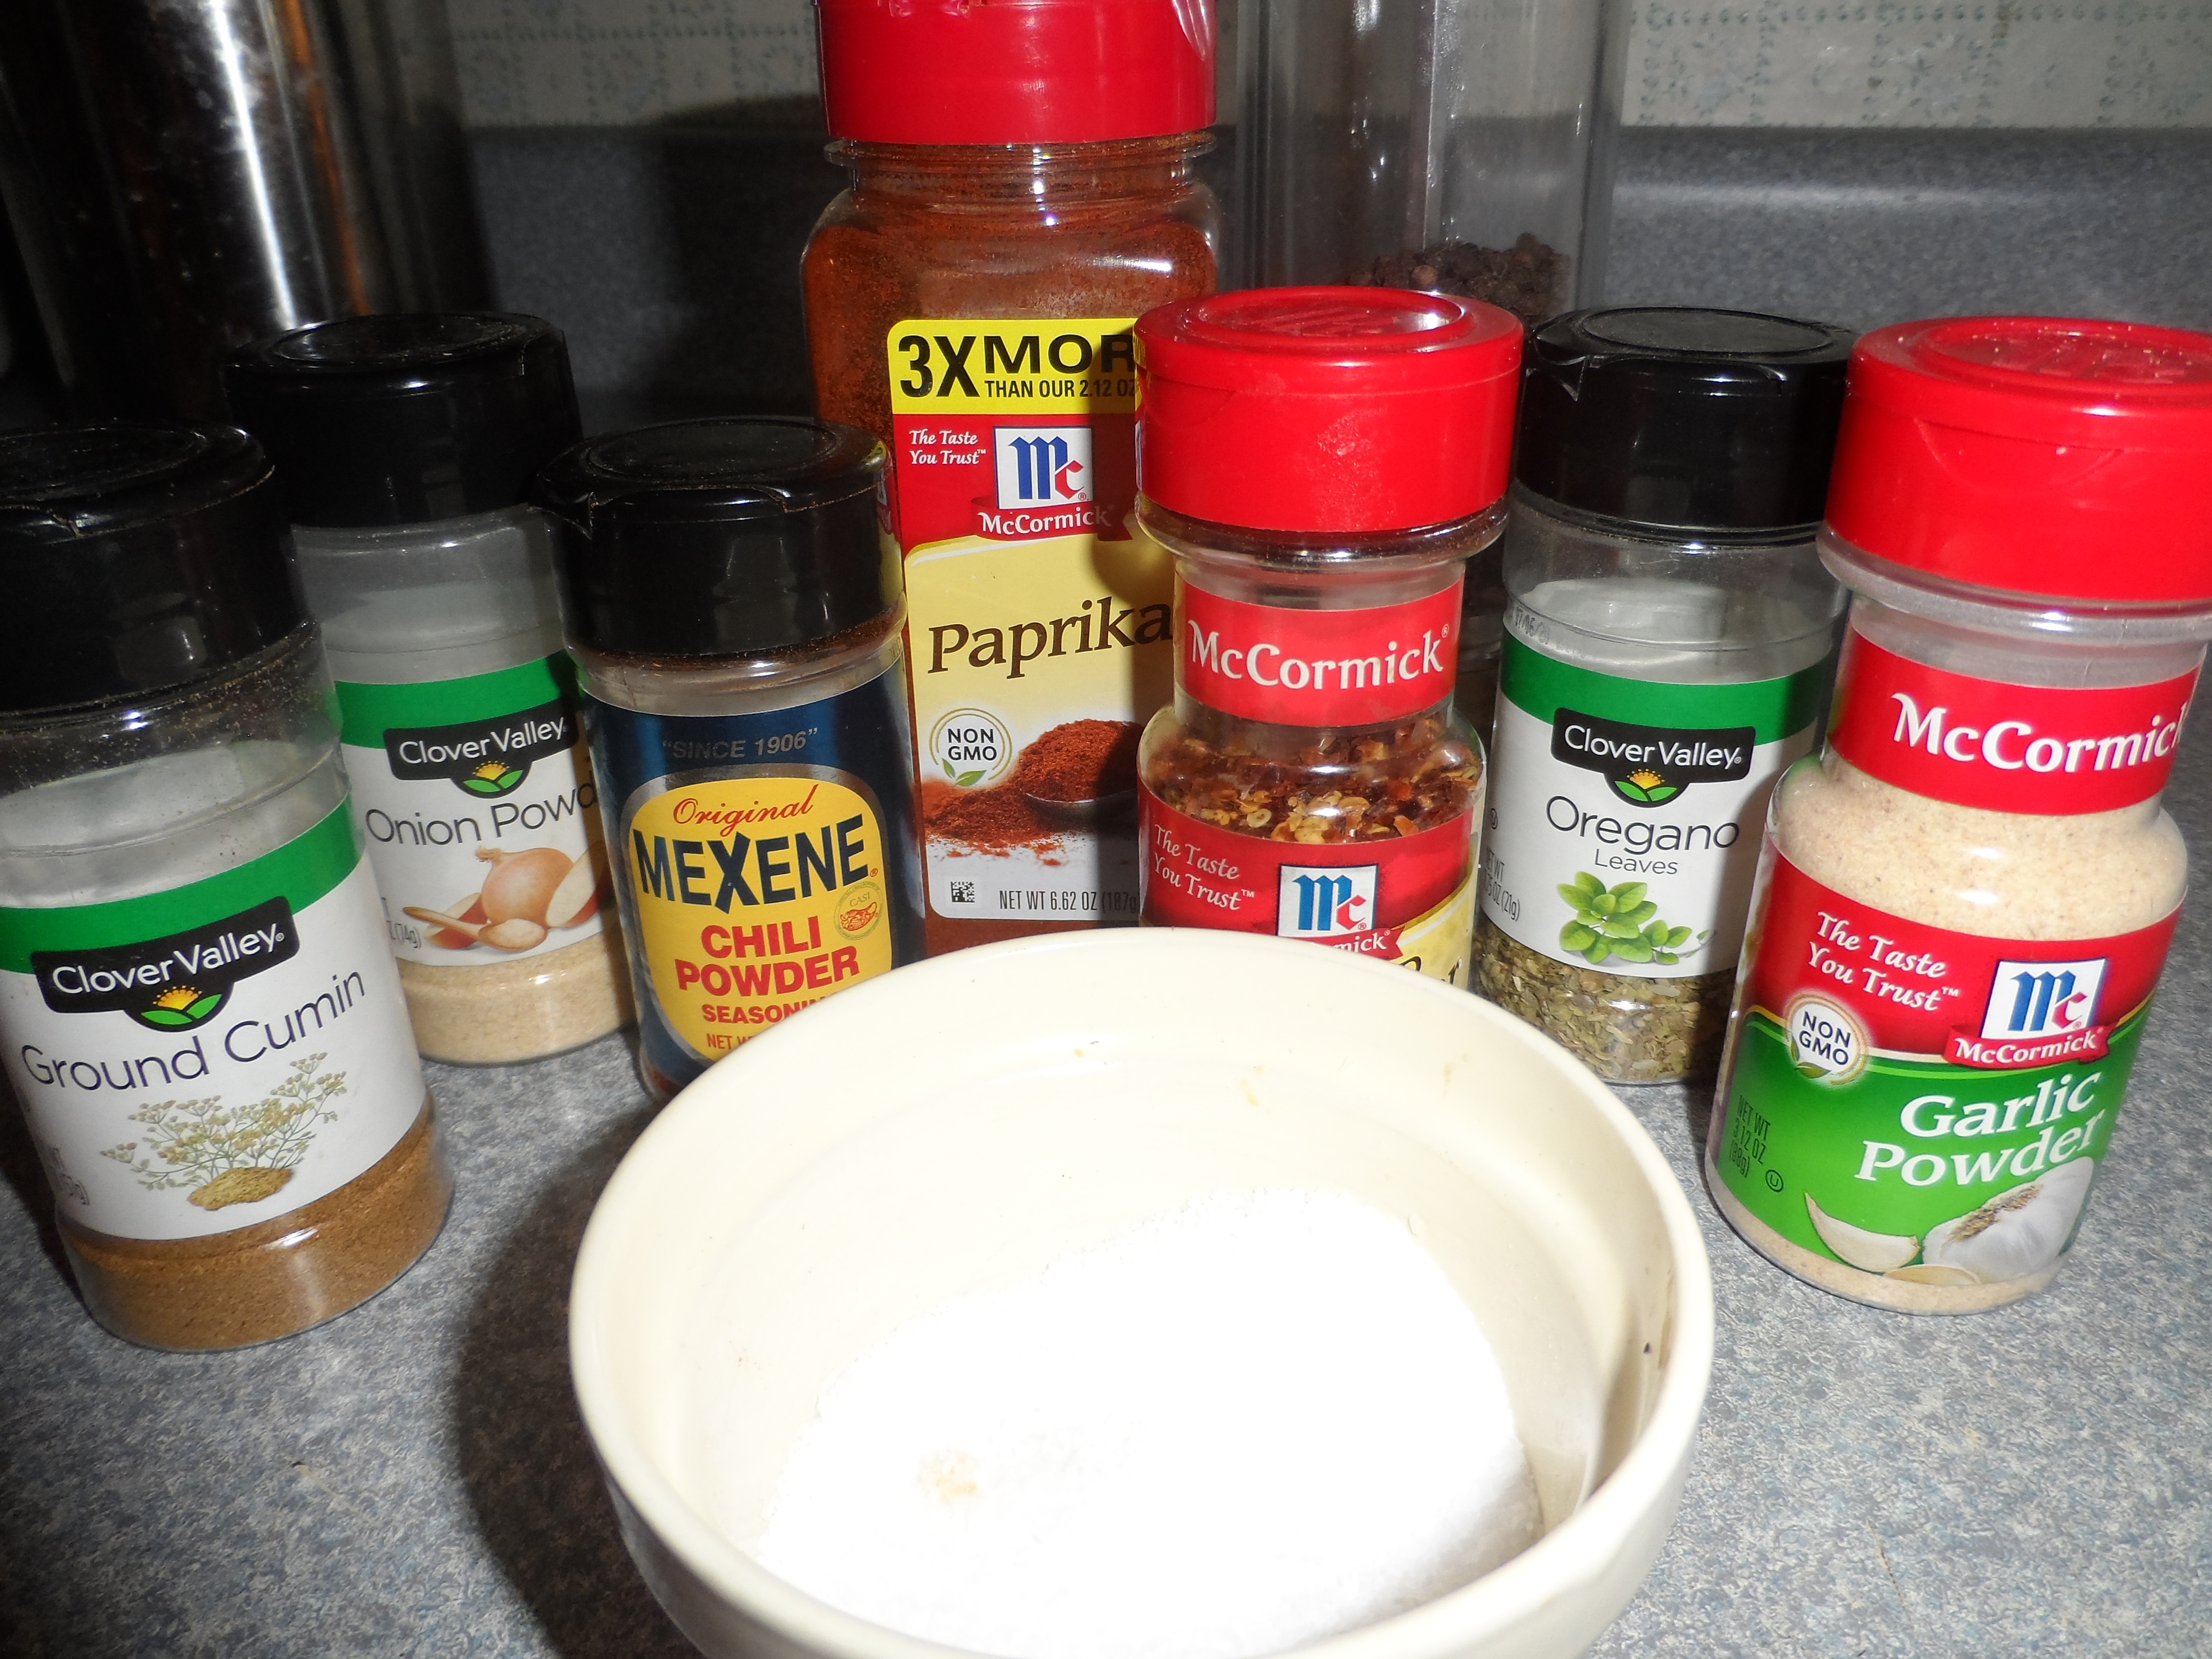
SAM_0376

Ingredients:
  • 1/2 tsp Garlic Powder
  • 1/4 tsp Onion Powder
  • 1/2 tsp Oregano, dried
  • 1 tsp Black pepper
  • 1 tbsp Chili Powder
  • 1/2 tsp Paprika
  • 1/4 tsp Red Pepper flakes
  • 1 tsp sea salt
  • 1 1/2 tsp ground Cumin
Mix everything together then add a tablespoon at a time to your Taco meat, taste testing as you go.

I used 2 tablespoons on Taco Salad for the hubs & I which was perfect!

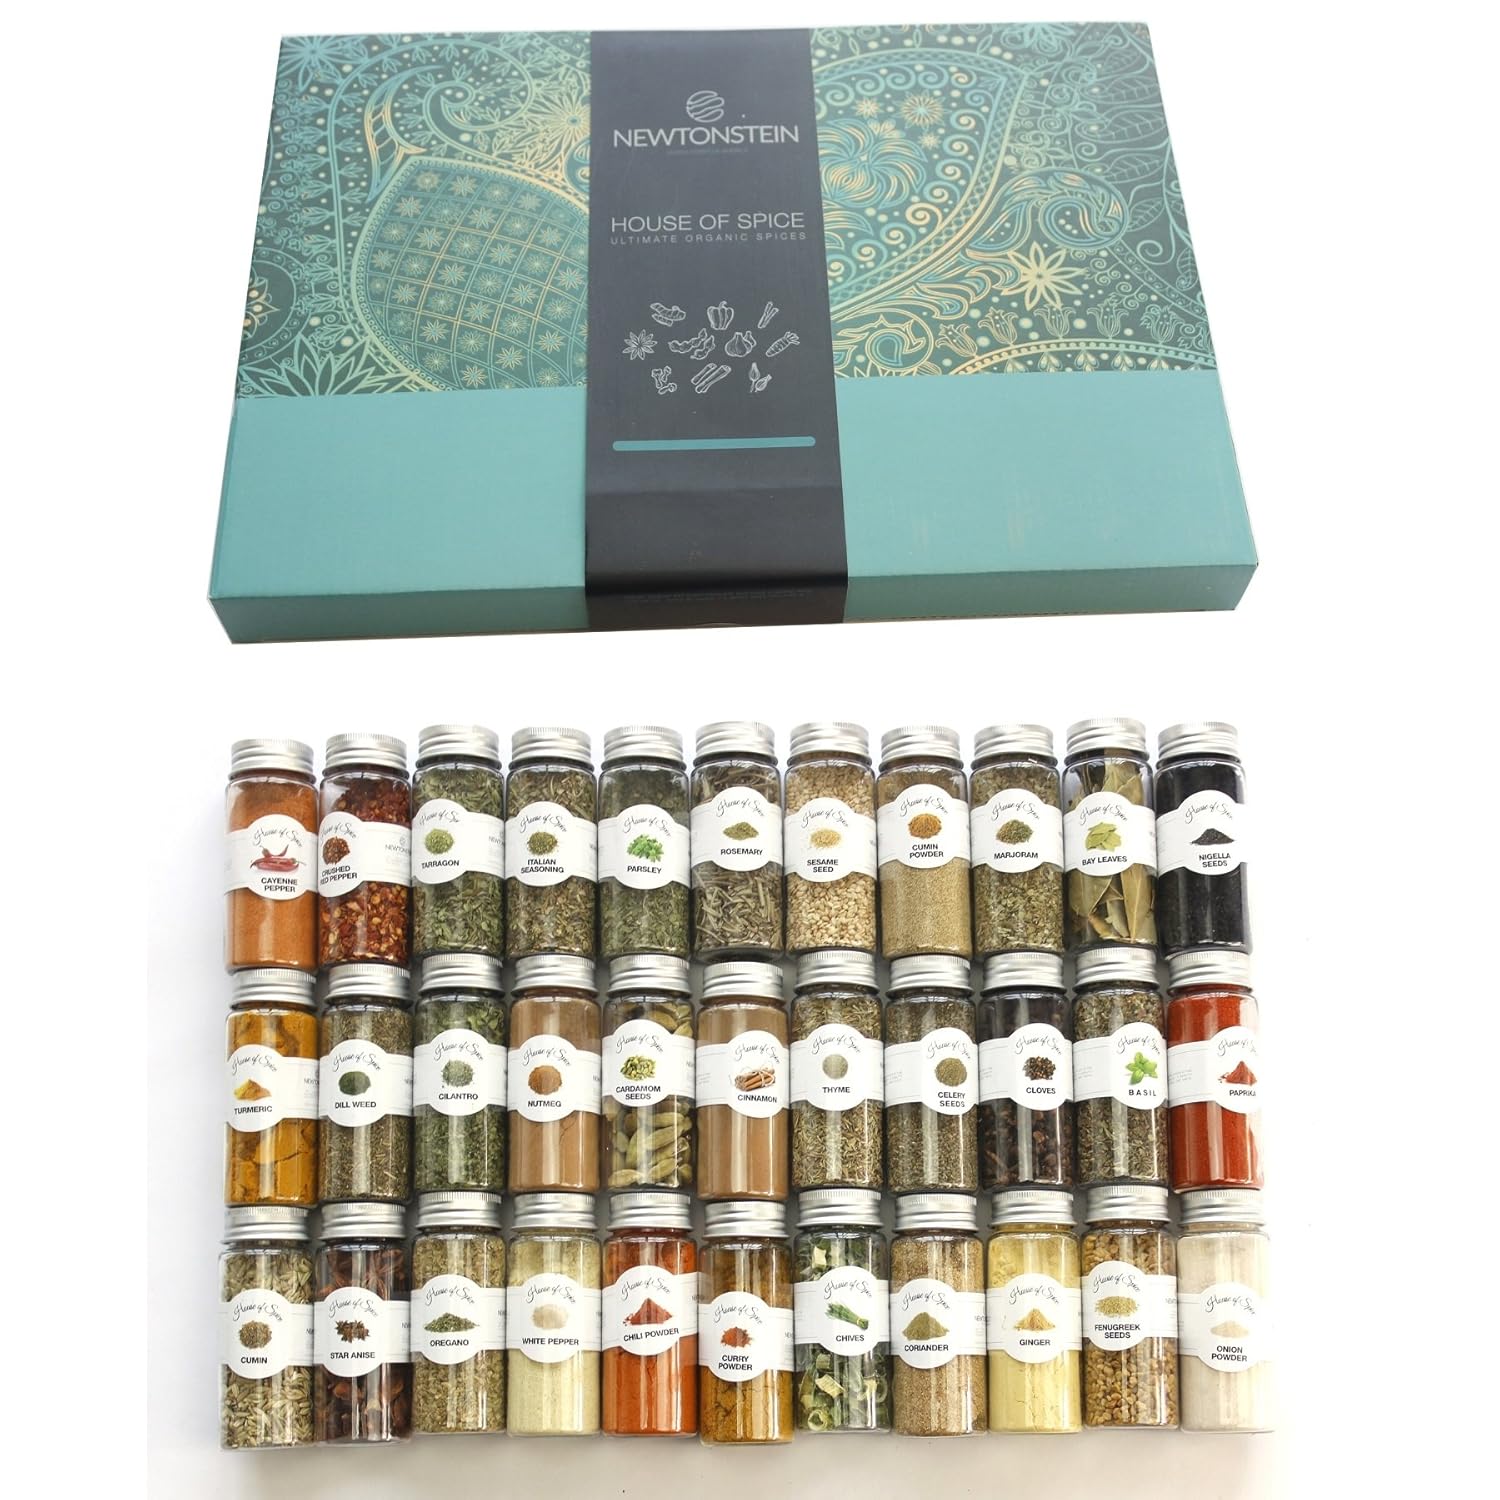
Do you have a spice blend preference for your kitchen? If you are new to the spice world as I was, you may appreciate this beautiful House of Spice - 33pc Ultimate Organic Spice started gift set in a beautiful gift box. A perfect gift for your home cook! Check it out here.

Til Next Time ~
Domesticate Rebellion

THRIVING ~ Have you witnessed the testimonies? It’s not about weight loss; it IS about feeling better from the inside out! If interested I would love to help you! Knowledge is Power! Sign-up for a FREE account & information at 
  • DISCLAIMER: This post may contain affiliate links meaning if you click & buy, I may be compensated. So, Thank you!
df3efcffc1761c6e8ed3ad864546e9d417353e545f3b07b348

Wednesday, June 13, 2018

Rustic Pizza Dough


RUSTIC PIZZA DOUGH

One of my all time favorite things to eat is and always will be PIZZA! 
Rather from scratch at home or dropping in at one of the popular pizza joints that are popping up everywhere - 
it is one of the ultimate satisfying 'fast food' 'finger food' options I just can't say no to.

When I was younger I enjoyed thick crust pizza 'pie'. Something you sank your teeth into but could still hold with your hands; (occasionally requiring a fork.) However, taste-buds, husbands and kids bring about expansion... In this instance, expanding my tastes and ultimately my hips therefore thin crust became a fave. ;)

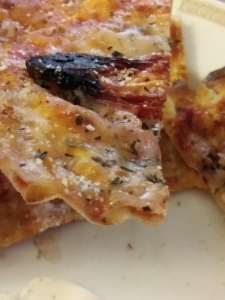
Specifically we enjoy a crust so thin it has rips and tears from being stretched! It has burnt edges with bubbles filled with air that 

crunch noisily when bitten into.

Mmmm, do you see that? 
That crunch? 
Paper thin and so so good. 
Even though I know we eat initially with our eyes - let me assure you the taste is even better!

Previously I found a nice enough "10 minute" dough recipe; 
Fast & easy but it had a 'chew' versus a 'crunchy bite'. So where do I go for inspiration?


-to pinterest ♥ and the net-

Where I found the perfect Rustic Pizza Dough that if you have time to wait on its rise, you will absolutely fall in love with the authenticity!

Let this transport you to the outside patios of Italy. I've made it as far as my porch.

Perhaps you'll make it to Italy for me! LOL


Typically, when we have pizza night at our house, it's usually hand in hand with having a few grands over.
 I recall pizza dough being the first thing we attempted to make with our first grand little. 
Something 'hands on' allowing lil fingers to play, all while being in the midst of what was happening in the typical hub of the home; AKA the kitchen!

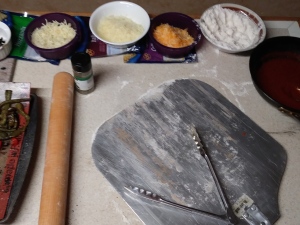
I personally do Mise en place (French pronunciation: ​[mi zɑ̃ ˈplas]) which is a French culinary phrase meaning "putting in place" or 

"everything in its place."

 
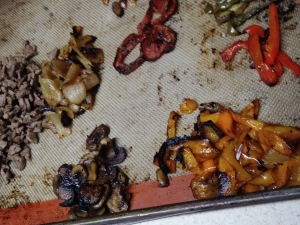
I gather everything up that I will need before starting, including the various topping
s that will be used. 

I pre-cook most toppings too since the time in the oven isn't really long enough to accommodate. 

Of course, this is entirely personal preference - so feel free to rock out your own.

 That's exactly what I do!


Crust Ingredients:
  • 5 cups AP flour (approx) + some for dusting
  • 1 1/2 tsp active dry yeast
  • 1 1/2 tsp kosher salt (original calls for sea salt)
  • 2 1/4 cups COLD water (yup, COLD)
  • 1 tbsp EVOO
While gathering the ingredients, that is a good time to start pre-heating your oven to a min of 500 degrees. 
The original recipe and my own experience concur a pizza stone makes all the difference too. 

Be sure to have yours in the oven during the preheat process.

I used a kitchen aide mixer but not to fret, this can come together by hand nicely too. 
So use what you have - it's really hard to fudge this one guys! :) 
Incorporate all dry ingredients


together then add COLD water. TaDah!

No proofing necessary! (That's a win win in my book!)

Mix, adding additional flour as needed. The dough should be slightly sticky 
but not enough to remain on the side walls of your mixer. 
It'll take between 8-12 minutes to combine. 

When finished, remove the dough and cut into 6 rounds.
Don't worry about extras -- this recipe freezes exceptionally well!

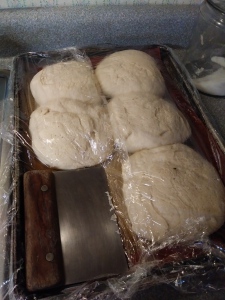
Place the rounds on a cookie sheet, drizzle with the EVOO, cover with plastic wrap or a damp cloth and walk away. 
Not really 'away' but let it rest for an hour or so in a nice warm spot. 
The yeast will activate surprisingly well, doubling the size of each round. This time allowance gives ample opportunity to pre-cook your toppings if your into that kind of thing.

Once the dough has risen, take out one of the rounds to work while keeping the others covered. 
This will ensure they do not dry out. 
Use a slight dusting of flour on your counter to roll out your dough the size of your pizza peel. 


and dust your peel so the dough will slip off onto the stone without sticking.

Pre-bake each crust at high temp for 1-2 minutes to ensure a crisp crunchy texture before adding any toppings. 
It is seriously worth the minimal effort! 

Remove the pre-baked crust from the oven. Keep in mind Less is More if you desire crisp & crunchy! 
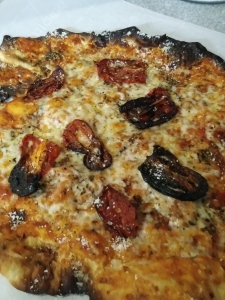
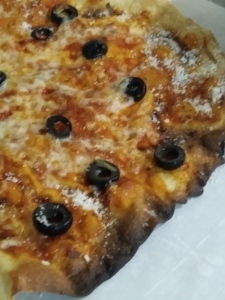
Use your favorite sauce, prepared toppings & choice of cheese then back into the oven between 5-7 minutes.

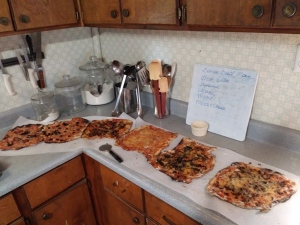
Bam! Dinner Is Served!

What is your favorite pizza? Do you prefer thin crust or thick crust? 
Did you know pizza is a fabulous way to use left over meats, veggies and the last tidbit of various cheeses? 
Is there a special recipe you do with your littles or grands? 

Let me know how it goes in your kitchen!


Shout out to Ciao Florentina for the original recipe posted in 2011 at https://ciaoflorentina.com/about-florentina/ who shares her journal of simple living, filled with joy, laughter and sinfully delicious recipes!


Til Next Time ~
Domesticate Rebellion

THRIVING ~ Have you witnessed the testimonies? It’s not about weight loss; it IS about feeling better from the inside out! If interested I would love to help you! Knowledge is Power! Sign-up for a FREE account & information at https://domesticated.le-vel.com
 
  • DISCLAIMER: This post may contain affiliate links meaning if you click & buy, I may be compensated. So, Thank you!
Friday, February 23, 2018

Italian Vegetable Soup


Vegetable Soup ~ Italian style!

Woo Hoo World ~ I am feeling so much more alive today than I have all year! :) Seriously! (so much so, I remind the hubs of our grands on a sugar high ~ hahaha!) No matter, I am grateful for the energy boost from all the naturalness I've been pushing.

My heart & tummy are happy as I believe we're finally over our yuk bug hump & fingers crossed we

 have arrived on the downhill slope to feeling better!

  003
BUT, just to be sure, I'm continuing on with our healthy veggie vitamin 'feel good cuz it's good for you' soup regimen!

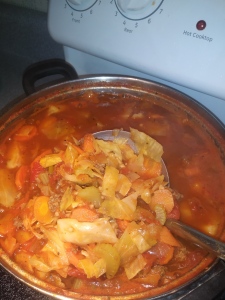
While cooking this soup, my home teased me with whiffs of what my imagination believes Lil Italy would smell like!
 MMMmmmMMM #bucketlist

006

The combination of Italian herbs with tomatoes, onions and carrots marrying together in a single pot - Divine!

Did you know, my recent food love discoveries indicate I could be part Italian?

AhHaHa; not really - but I do absolutely LOVE the mouth-watering tongue tingling combination of Basil and Oregano with Tomato. Anybody else? 

Now, this recipe calls for water. I elected to use beef broth instead. I have fallen in love with the health benefits of bone broth!  You can read up on bone broth by checking out another veggie soup here. Not to mention using broth was also an excellent flavor addition for the ground chuck used.

013

Since we prefer soups that still provide a 'bite', Ya know, something you can actually sink your teeth into. I left the majority of the vegetables at just 'fork tender'. 

Hearty bites of root veggies co-mingled with small bits of ground chuck all surrounded by a beefy-tomato broth come together for a filling & feel good meal my hungry man enjoyed! 

As the main dish, add a salad or baked potato then call it a day! It's that hearty!

Oh, and let's not forget simple. All y'all know my favorite thing in the wake of my discovery is Simplicity! This is another recipe meeting that criteria. Just a few simple steps and rest is just magic!

Ingredients:
  • 4 cloves of minced garlic
  • 1 sweet onion, chopped
  • 1 small bag of carrots peeled & sliced on angle
  • 8 stalks of celery peeled & sliced (I personally prefer the flavor of the celery hearts)
  • 4 c beef broth
  • 1 can diced tomatoes 
  • 1 lg can peeled tomatoes (IMO whole peeled tomatoes have more flavor so I crush or dice whole tomatoes with this gadget)
  • 1 can tomato sauce
  • 1/2 head cabbage chopped
  • 3 tsp oregano
  • 2 tsp basil
  • 1 tsp thyme
  • 1 tsp kosher salt
  • 1 tsp fresh cracked pepper
  • 2 lbs ground chuck
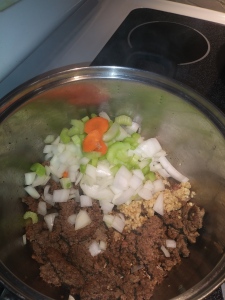
In a large stock pot, I browned my chuck without draining (there was almost zero fat)
I added in my sweet onion, garlic and all spices. Mix this up allowing it to bloom under a tight-fitting lid on low heat for about 4 minutes -- just enough to start cooking the onions thru -- then toss in carrots and celery -- mix & repeat for another 4 minutes or so. 

Next, add your broth and tomatoes. Replace the lid, cook at a simmer until the veggies are ALMOST cooked to your liking. When they are close, toss in your cabbage, fold into the soup. Cover. Simmer again, but only until the veggies are fork tender including the cabbage. (of course this varies from person to person so adjust accordingly)

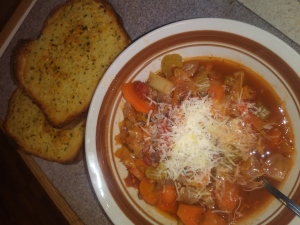
I topped mine with some grated Parmesan cheese and paired with some garlic bread.
I owe this tasty soup inspiration to Mary over at barefeetinthekitchen.com ; head over sometime to find some healthy home-made inspiration of your own! 

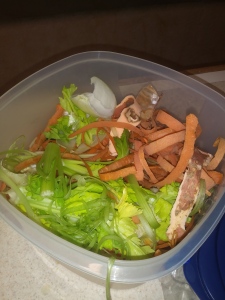
Another worthy mention: my compost pile is absolutely loving this veggie 'feel good' soup week!  

005

(full disclosure: we both heart carbs & sugar so it's not been a 100% green goddess goodness week. Y'all come back to see me as I'm saving a sweet treat story for another day!)

Til Next Time ~
Domesticate Rebellion

THRIVING ~ Have you witnessed the testimonies? It’s not about weight loss; it IS about feeling better from the inside out! If interested I would love to help you! Knowledge is Power! Sign-up for a FREE account & information at https://domesticated.le-vel.com
 
  • DISCLAIMER: This post may contain affiliate links meaning if you click & buy, I may be compensated. So, Thank you!

Thursday, October 26, 2017

Simply AmAzInG EASY Glorious Homemade Bread

Hi Ya! C'mon & sit a minute & check out this recipe I found on pinterest. ((I ❤ pinterest! ))


...in MY carb loving family we are lovers ❤❤ of homemade bread!  (no lie, like who isn't right?)..  and in addition to h/m bread and pinterest, I am also a lover of easy! I believe Less is best - so this recipe with minimal ingredients is right up my ally!

In my world, everyone enjoys nice fresh baked bread with butter or jelly or jam OH MY!. Others take the savory road with meats and cheeses, slathered thick with mayo's, aioli and such. Beautiful layered sandwiches bursting with all kinds of goodness. Whatever your heart desires... The possibilities are endless!

And (if you couldn't already tell) I'm a fan of ALL of the above.. LOL.

Well, speaking of homemade bread ~ just feast your eyes on this beauty:

TaDah
 

I made this tonight and WoWed  the hubs! While I have made a lifetime of wow'ing him - 👅, haha, he is known at our house as the "sour dough King"! (The pressure is HOT.. or on.. whatever..)

Seriously! King status.

He created his own original sour dough starter using indigenous yeast found on our land! 
That was back in 2007! Damn, its been 10 years

I think that is bad ass! But I'm partial where he's concerned. 😉 Lol.  Anyway, in the beginning, He was a slave to his starter. ugh!

Feeding, growing, oopsing. When it was born, his words, it needed him. It was (ahem, is) a pain in the rear! Demanding even. But that's not my way. I'm demanding enough, (again, hubs' words, haha) my food can't be too.

Which is in part what I found intriguing about this mix n leave recipe! 

I went the full 24 hours before baking and the flavor is very mellow, the airiness (is that a word?) inside is so light and fluffy and the air pockets, oh my my! 

And the crust is to die for chewy too!

I will forever use this recipe. While this isn't "my" recipe, it is now my 'go to'! Try it!

Few ingredients, mix n leave, and BAM!

Taste bud heaven. Enjoy y'all!


Til Next Time ~
Domesticate Rebellion

THRIVING ~ Have you witnessed the testimonies? It’s not about weight loss; it IS about feeling better from the inside out! If interested I would love to help you! Knowledge is Power! Sign-up for a FREE account & information at https://domesticated.le-vel.com
 
  • DISCLAIMER: This post may contain affiliate links meaning if you click & buy, I may be compensated. So, Thank you!